
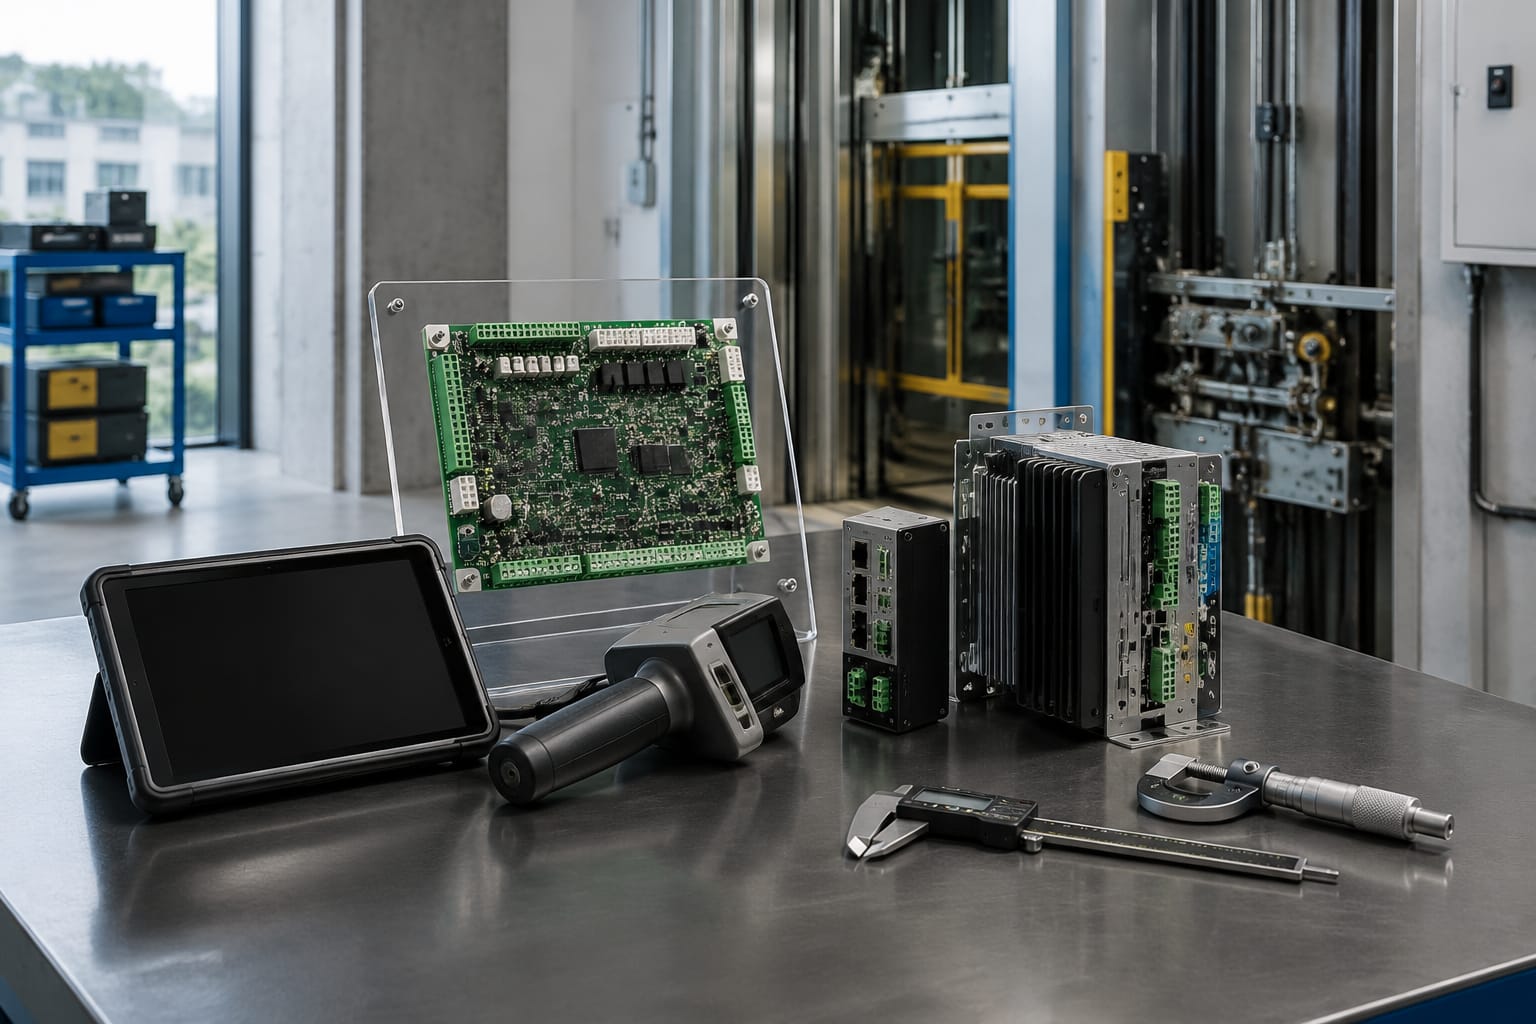
A KONE parts view is the practical process of identifying an elevator component from its system role, labels, board codes, revisions, connectors and installation context. It should lead to a documented compatibility decision, not a visual guess based on the shape or colour of a part.
For maintenance contractors and sourcing teams in the Philippines, the safest workflow is to start with the lift model and the failed component's exact markings, then compare the replacement's function and interface details. Photos are useful evidence, but they cannot confirm compatibility by themselves.
What buyers mean by KONE parts view
When buyers search for a “KONE parts view”, they commonly need one of three things:
- A way to identify an unknown part removed from a lift.
- A reference for locating the correct board, display, tool or accessory within an elevator system.
- A method for checking whether an offered replacement will work with the installed equipment.
The term can refer to an exploded parts diagram, a cabinet layout, product photos, or a supplier catalogue. Each is helpful, but none should be treated as a complete match on its own. A board may look identical to another version while having different software support, connector arrangement or communication protocol.
A useful parts view records the part in context:
- Which lift system is installed? Record the controller family, elevator model where known, and whether the equipment has been modernised.
- What does the component do? For example, does it drive a display, handle landing calls, monitor doors, provide inspection functions or support commissioning?
- What is printed on it? Capture KONE part numbers, manufacturer codes, revision labels, serial data and barcode stickers.
- How does it connect? Note plug types, pin counts, socket locations, cable labels and terminal designations.
- Where was it fitted? Record the control cabinet position, car operating panel, landing fixture, car top or pit.
This approach is especially important for sites that have been repaired over many years. A lift may contain later replacement boards, retrofitted displays or non-original wiring changes. The part removed from the unit is therefore not always the same as the component fitted when the lift was first installed.
Search by model and component function
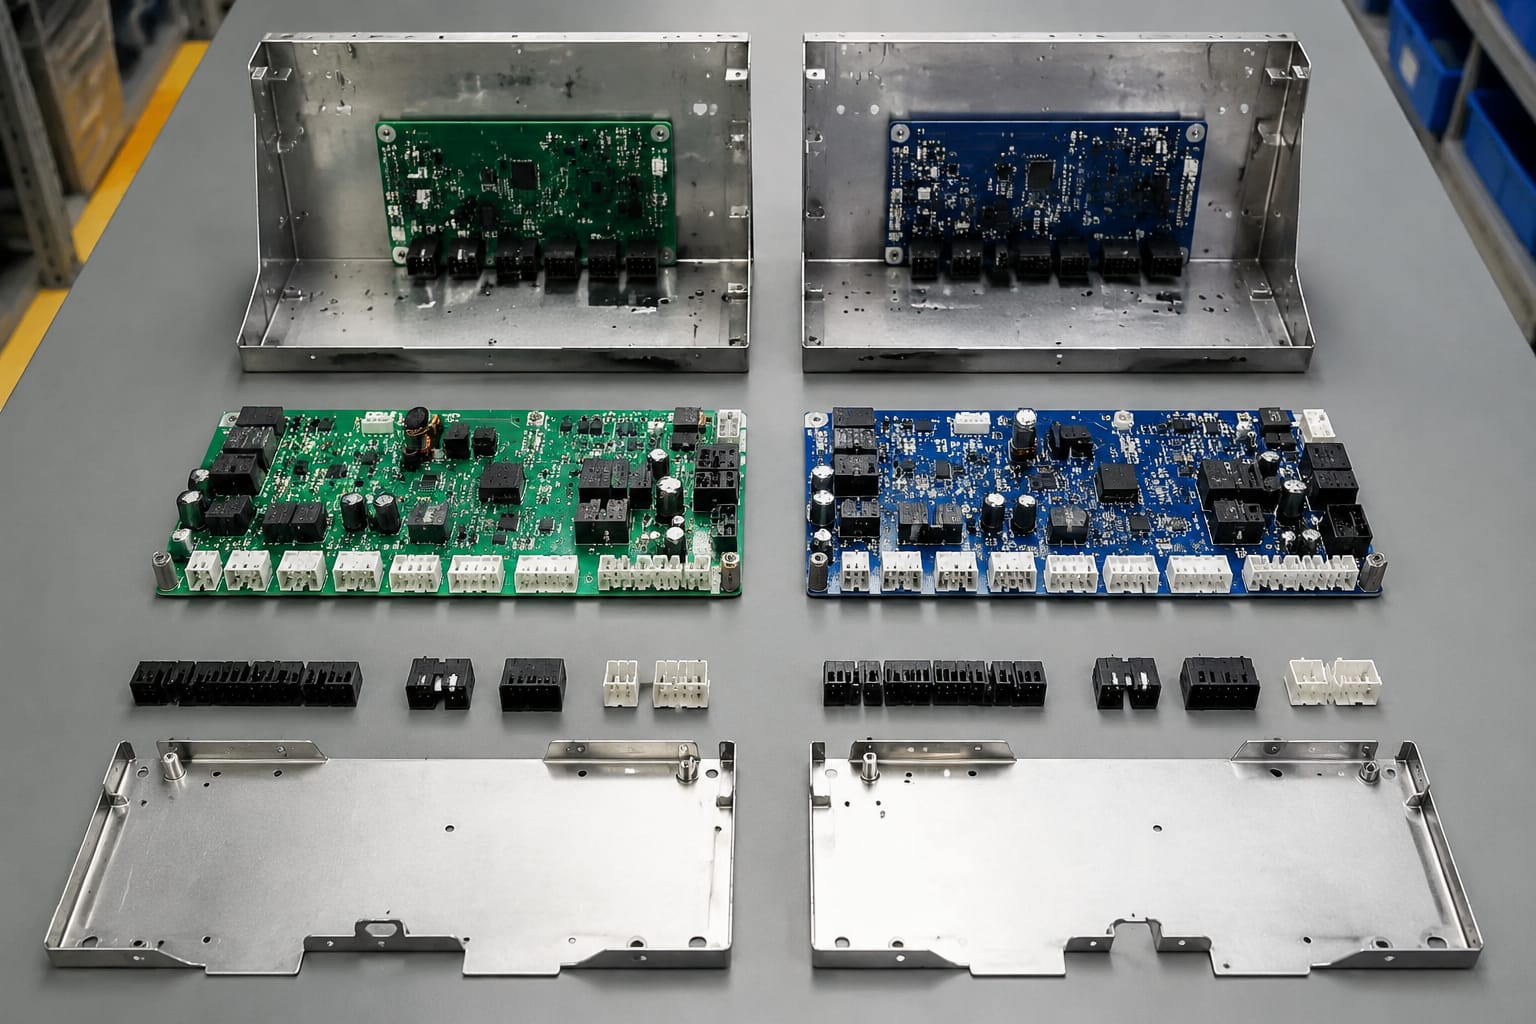
Begin with the installed system, then narrow the search by function. A controller or lift model can reduce the number of possible parts, but it rarely confirms the replacement without further checks.
Build a basic identification record
Before searching a catalogue or asking a supplier for a match, collect the following:
| Information to record | Why it matters |
|---|---|
| Lift model or controller family | Narrows the likely generation and system architecture |
| Component location | Distinguishes similar boards used in different parts of the lift |
| Function of the failed part | Helps separate display, call, safety, door and communication components |
| Full part number and board code | Usually the strongest starting point for an exact match |
| Revision or issue number | Identifies design changes within the same board family |
| Connector and terminal details | Reveals interface differences that photos may miss |
| Existing cables and labels | Supports pinout and communication checks |
| Fault symptom | May indicate whether the suspected part is actually the cause |
Use the fault symptom carefully. A blank landing display, for example, may result from the display board, a loose harness, power supply issue, damaged communication line or an upstream controller fault. Replacing the most visible component without diagnosis can create unnecessary cost and downtime.
Search by what the part does
A component function often gives better results than a vague description such as “KONE board” or “elevator PCB”. Use terms that describe the role:
- Landing call display board
- Car operating panel display module
- Communication or interface board
- Main controller board
- Door operator board
- Encoder interface
- Inspection box component
- Pit lighting or switch accessory
- Programming, diagnostic or service tool
For example, a KONE outgoing call display board is a relevant category when the task is identifying a landing call indication component. It is not automatically a substitute for every screen or display fitted to a KONE lift. Confirm the original part number, display format, mounting arrangement and electrical interface.
When a model number cannot be found, function-based searching helps create a shortlist. The final selection must still be based on markings and physical or electrical compatibility.
Read labels and board codes
Labels are the most valuable evidence in a KONE parts view. Photograph every label before cleaning the board or disconnecting cables. A small sticker may contain the only detail that distinguishes compatible stock from a similar-looking but unsuitable version.
Which markings should you capture?
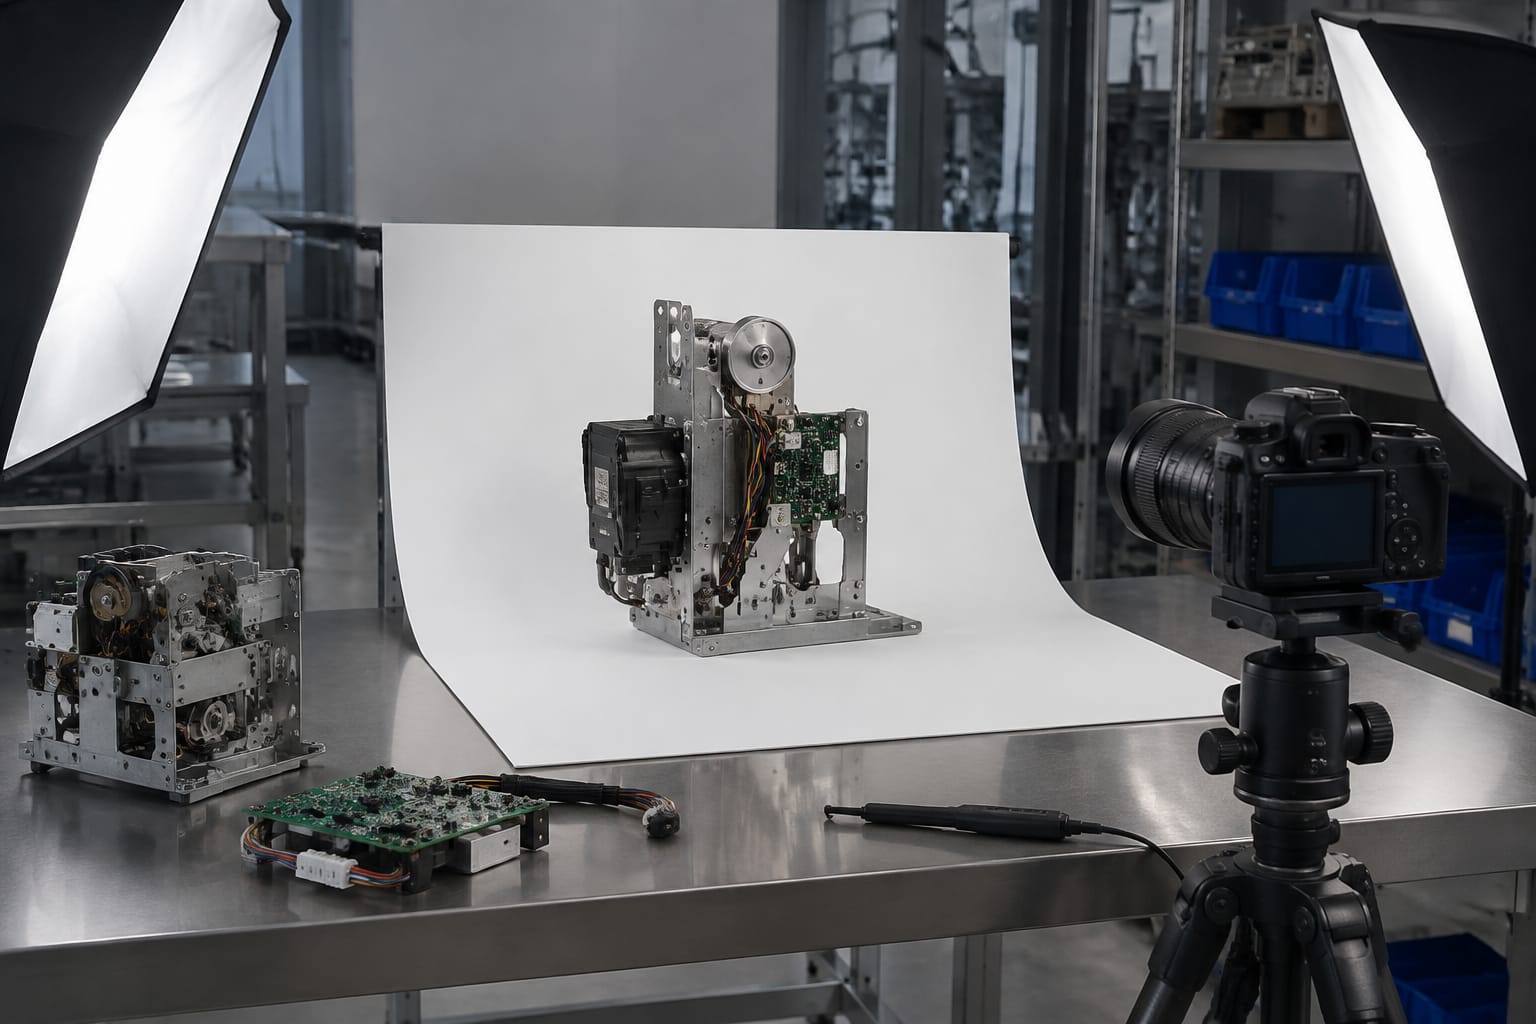
Look for these markings on both sides of a board and on attached modules:
- KONE part number
- Printed circuit board (PCB) number
- Manufacturer or assembly number
- Revision, version, issue or “Rev” code
- Serial number and production label
- Barcode label
- Firmware or software label, where present
- Connector designations such as X1, X2, CN1 or J3
- Voltage markings
- Fuse ratings and polarity markings
- Date codes
Write the codes exactly, including spaces, hyphens, prefixes and suffixes. A missing character can lead to a different board family. Do not assume that a number printed on a relay, chip or connector is the board's orderable part number; it may identify only one component mounted on the PCB.
Separate part number from board number
A board can carry multiple numbers that serve different purposes. The supplier's replacement reference may be on a label, while the bare PCB fabrication number is printed in copper along an edge. Both are worth recording, but they should not be treated as interchangeable.
Use the full set of information in your enquiry or internal records:
- Order or material number: commonly used to identify the supplied assembly.
- PCB code: identifies the circuit board design and can help with cross-reference checks.
- Revision: identifies a specific engineering iteration.
- Software or firmware information: may affect the board's ability to work in the intended system.
- Serial number: useful for traceability, but not always sufficient for sourcing.
If the label is worn or missing, take sharp, well-lit images of both sides of the board. Also photograph nearby labels in the cabinet and the connected cables. These details can help establish the component's system role.
Compare revision numbers and connectors
Matching the base code is only the first step. Revision number, connector layout and installed configuration can determine whether a replacement can be fitted and operated correctly.
Why revisions matter
Manufacturers can revise a board to address component availability, manufacturing changes, electrical design or system compatibility. Later revisions may replace earlier ones, but that is not something to assume from the numbering alone.
A replacement may be acceptable when it is explicitly listed as a superseding version or when its interface and application are confirmed. It may be unsuitable when:
- The connector count or positions differ.
- A connector has a different key, gender or pin arrangement.
- Terminal labels are not the same.
- The board expects another software or controller generation.
- The voltage or supply connection is different.
- The board requires configuration, parameters or licensed software that are not available.
Do not rely on a supplier statement that a part is “new version” unless the actual compatibility basis is clear. Ask whether it is an exact code match, an official supersession, a functionally equivalent replacement, or a part that needs adaptation.
Check connectors methodically
Compare the removed part and candidate replacement side by side using photos and a written checklist:
- Count every plug, terminal block, relay socket and ribbon connector.
- Compare connector identifiers, such as X1 through X8, not only their positions.
- Check pin quantity and connector keying.
- Review terminal labels for power, input, output and communication connections.
- Confirm mounting holes, board dimensions, spacers and enclosure clearances.
- Verify any linked daughterboard, ribbon cable, memory module or removable connector.
- Check the required supply voltage from the label or documentation.
Never force a connector because it appears close to fitting. A mechanically similar plug may have a different pinout. Reusing an old cable assembly without verifying pin assignments can damage equipment or create intermittent faults.
Match displays and communication boards
Displays and communication boards are frequently misidentified because their front faces can look alike across different lift installations. The visible screen, button layout or arrow symbol is only one part of the assembly.
Display matching criteria
For a car or landing display, check:
- Original display or board part number
- Display type: LCD, LED, dot matrix or segment display
- Screen size and visible area
- Character or indicator layout
- Colour and illumination arrangement
- Mounting frame, cut-out and fixing points
- Ribbon cable or harness connector type
- Supply requirement
- Communication method and controller compatibility
- Required configuration, address or firmware
A display can power on but still fail to show correct floor data, arrows or messages when it does not communicate correctly with the controller. Likewise, a replacement with the correct communication may not fit the existing faceplate or fixture.
For landing fixtures, verify whether the component is an indicator-only device, a combined call-and-display unit, or a board supporting both. The installation position matters: a module used for an outgoing call display may differ from one used for car indication or direction display even where the housings look similar.
Communication board checks
Communication boards need closer scrutiny because compatibility depends on the system network, not simply on power and mounting. Record:
- Controller family and connected equipment
- Network cable type and connector style
- Bus or communication labels on terminals
- Address switch, jumper or DIP-switch settings
- Any terminating resistor or link arrangement
- Existing board's status LEDs and their labelled purpose
- Software, parameter or commissioning requirements
Avoid treating a communication board as a passive adapter. It may be programmed or assigned to a specific location. A substitute can require configuration before the lift returns to service, and a wrong board can prevent several devices from communicating.
Identify service tools correctly
Service tools need their own matching process. A device described as a “KONE service tool” may be a diagnostic terminal, programming interface, test lead, connector adapter, commissioning accessory or a tool intended for a particular controller generation.
Before sourcing one, identify:
- The controller family it is intended to support
- Its exact model or order number
- The required connection port and cable
- Whether it is a standalone tool or needs companion hardware
- The required software version, access method or licence status
- Its intended use: diagnosis, configuration, parameter transfer or firmware work
- Whether your technicians have the authorised procedures and competence to use it
A correct plug is not proof of tool compatibility. Some tools are generation-specific, and access-controlled functions may not be available through an otherwise compatible device.
Keep service-tool identification separate from board identification in your records. A controller board code does not tell you which diagnostic tool is suitable, and a tool reference does not establish replacement-board compatibility.
Request useful supplier photos
Supplier photos are valuable when they show evidence needed for comparison. A generic catalogue image is useful only for an initial visual check; it is not enough for a final order decision.
Request current images of the exact offered item, covering:
- Front and back of the board or module
- All product, barcode and revision labels
- Close-ups of every connector and terminal block
- Component-side and solder-side views where safe and relevant
- Mounting points and board edges
- Included cables, brackets, covers or daughterboards
- Packaging label, if it helps verify the supplied reference
Ask for the part number and revision to be readable in the image. Blurry close-ups do not resolve a mismatch. Where a board has an area that is difficult to view after installation, photograph the removed part before it is returned, scrapped or sent for repair.
For physical accessories, include photos of the installed environment. When checking a pit item, for instance, capture its mounting position, cable entry and adjacent switch or enclosure labels. This is more useful than sending a distant image of the lift shaft. A KONE pit inspection box and well-lighting switch accessory should be checked against the existing mounting, switching and connection arrangement, rather than selected from the product appearance alone.
Avoid common matching mistakes
The following mistakes cause many avoidable ordering and installation problems.
Ordering from appearance alone
Two boards may have the same dimensions, relay arrangement and connector locations but different revisions or software roles. Use appearance as a cross-check, never as the main identification method.
Matching only the controller brand
A KONE-branded lift can contain components from different generations and modernisation stages. “For KONE” is a broad category, not a compatibility confirmation.
Ignoring suffixes and revision labels
A suffix can indicate a variant, assembly version or application difference. Record the number exactly before accepting a quotation or listing.
Assuming newer always means compatible
A later version may be a valid supersession, but it can also require another harness, configuration change or related component update. Confirm the replacement path.
Failing to identify the real fault
Replacing a display because it is blank may not solve a communication, power or controller problem. Complete basic fault isolation within appropriate safety procedures before ordering.
Sending incomplete enquiry details
“Need KONE PCB photo attached” produces weak matching evidence. Provide the model, function, label photos, board images, connectors, fault symptom and quantity required.
Treating a second-hand part as an exact substitute
Used or refurbished components may have different revision, history, firmware or condition. Confirm identification and commercial condition separately. Compatibility and condition are related but distinct decisions.
Overlooking installation and commissioning needs
Some parts require parameter setting, addressing, calibration or testing after installation. Plan this before the replacement arrives, particularly where the lift serves a busy residential, office or commercial site.
A practical replacement-matching checklist
Use this final check before placing an order:
- Confirm the lift system and the component's location.
- Identify the failed part's exact order number, board code and revision.
- Define the component function and fault symptom.
- Compare photos of the exact offered item, including labels and connectors.
- Check connector identifiers, pins, keying and terminal designations.
- Verify mounting size, fixing points and cable reach.
- Confirm voltage, interface and communication requirements.
- Establish whether the offered item is exact match, supersession or alternative.
- Identify required programming, addressing or commissioning work.
- Record the decision basis with photos and part references for future maintenance.
For multi-brand sourcing, Kelevator supplies elevator spare parts to B2B importers, distributors, maintenance contractors and OEM buyers. When comparing a candidate against a known reference, a KONE elevator parts decoder listing can be a relevant starting point, provided the specific controller application, code and interface are still verified.
A well-documented KONE parts view reduces avoidable returns and site delays. Start with the original markings, verify the replacement's revision and connectors, then confirm the functional and commissioning requirements before committing to a purchase.
Related product references
For practical catalog examples related to this topic, review [KONE Elevator Parts Decoder Unlimited Times Operator lift parts](/products/kone-elevator-parts-decoder-unlimited-times-operator-lift-parts/), [Pit inspection box well lighting switch KONE elevator parts lift accessories](/products/pit-inspection-box-well-lighting-switch-kone-elevator-parts-lift-accessories/), and [KONE elevator parts outgoing call display board lift accessories](/products/kone-elevator-parts-outgoing-call-display-board-lift-accessories/). Confirm the exact model, dimensions, ratings, and connectors before ordering.