
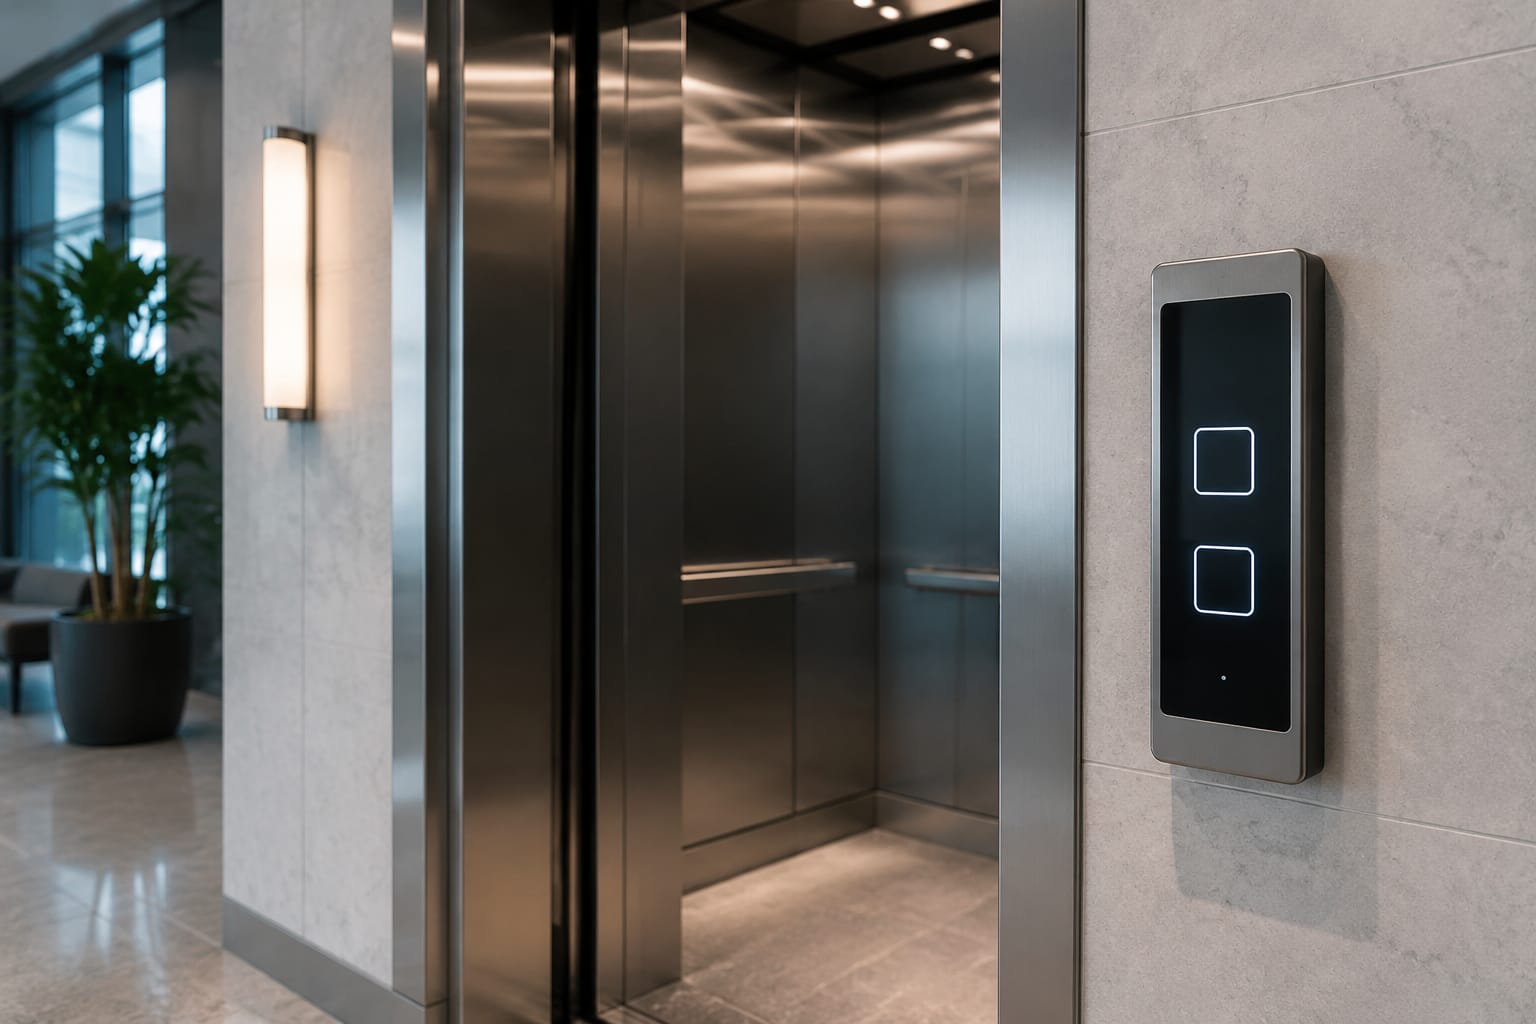
An elevator touch panel is not simply a screen or a set of touch-sensitive buttons. It is part of the lift's operating interface, connected to the controller through specific inputs, communication protocols, power supplies, and safety arrangements. A successful replacement must match the existing system electrically and mechanically, while keeping floor selection, door functions, alarms, and accessibility features dependable.
For buildings in the Philippines, touch-panel upgrades are often considered during cab refurbishment, controller replacement, or when worn mechanical buttons and dated indicators affect passenger experience. The right choice depends less on appearance than on controller compatibility, clear feedback, maintainability, emergency operation, and the operating environment of the lift.
How elevator touch panels work
An elevator touch panel receives a passenger command, gives feedback that the command has registered, and sends the instruction to the lift controller. Depending on its design, it can work as a direct-wired input device or as a node on a serial communication network.
In a basic direct-wired arrangement, each floor or function has a separate input circuit. Pressing a touch area closes or electronically simulates the relevant circuit, similar to a conventional push button. This approach can be straightforward to diagnose, but a panel with many buttons may require a large number of wires.
In a bus or serial system, the panel communicates with the controller using a shared data connection. The panel may report a button press, receive commands to illuminate indicators, and exchange status information for a display. This reduces wiring in some installations but makes protocol matching critical. A panel designed for one controller family may not communicate with another, even where connectors look similar.
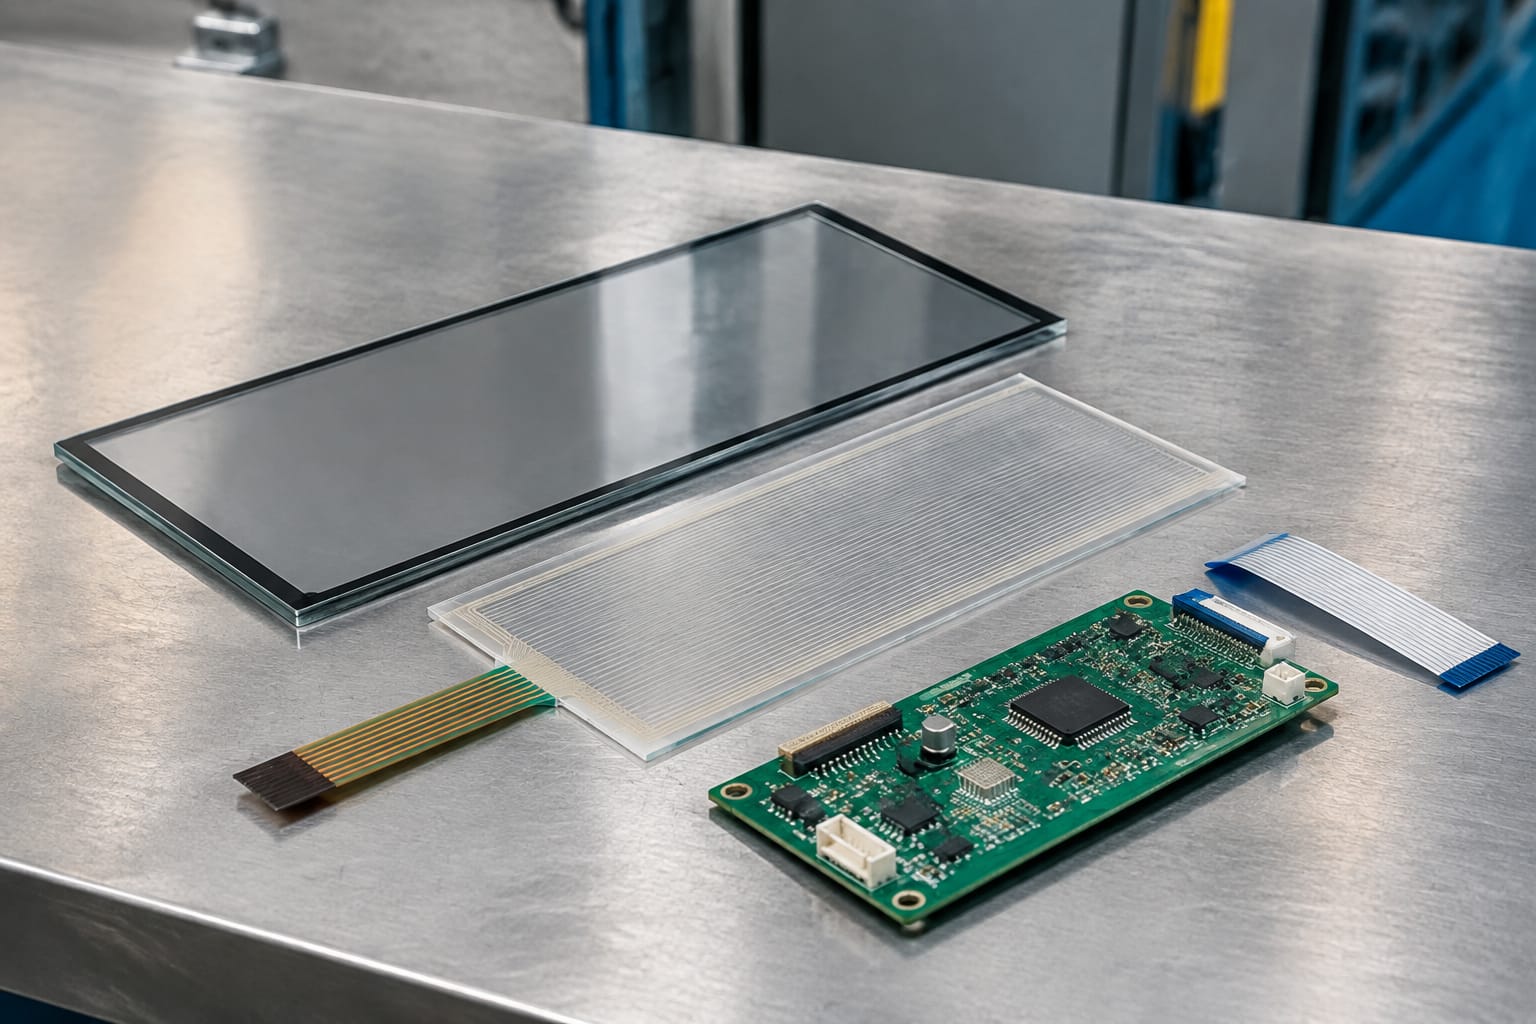
Most touch interfaces contain some combination of:
- A capacitive, resistive, optical, or pressure-sensitive touch sensor
- A printed circuit board or button board
- Indicator LEDs, backlighting, or a display module
- A protective faceplate, often glass, acrylic, or metal
- A power input and wiring harness
- Control electronics that translate a touch into a controller-recognised signal
The panel itself does not make a lift safe. Safety functions remain dependent on the lift controller, safety circuit, door system, alarm arrangement, and applicable building requirements. When evaluating a replacement, separate passenger-interface functions from safety-critical functions and confirm how the existing installation handles both.
Touch buttons versus mechanical buttons
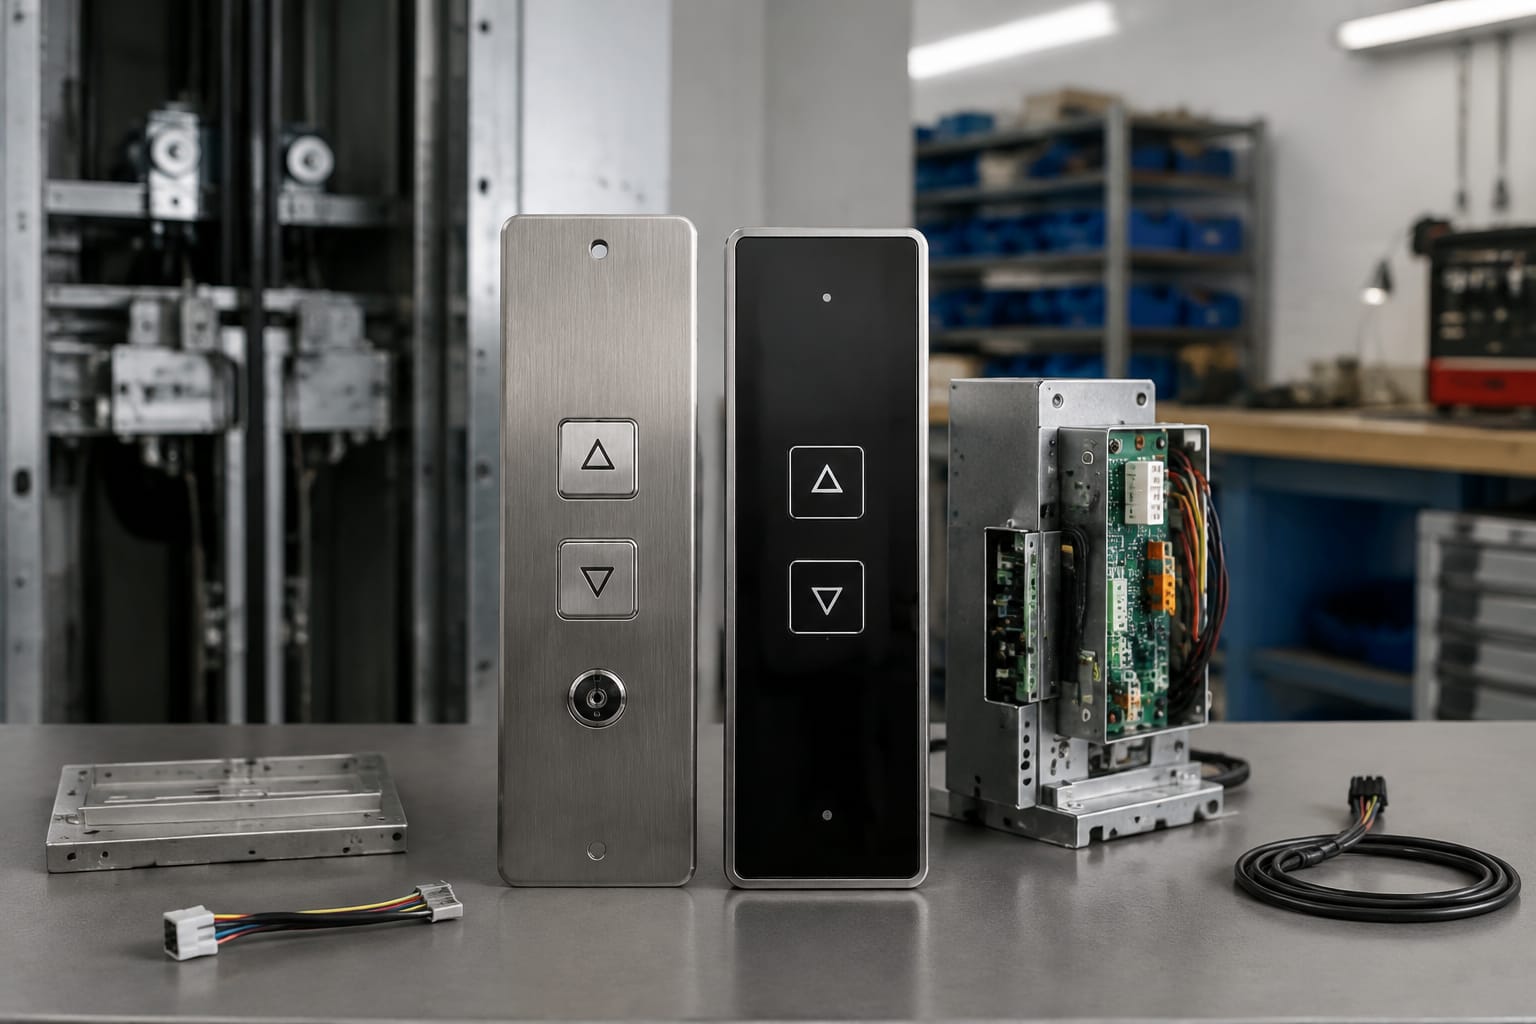
Touch buttons can create a cleaner car operating panel and can support flexible visual layouts. Mechanical buttons remain common because their tactile response and replacement process are familiar to technicians. Neither format is automatically better; the operating conditions and system requirements should decide the choice.
| Consideration | Elevator touch panel | Mechanical elevator buttons |
|---|---|---|
| Passenger feedback | Can use light, sound, animation, or screen confirmation | Usually provides travel and illumination feedback |
| Cleaning | Flat surfaces are generally easier to wipe | Gaps around button edges may collect dirt |
| Tactile confirmation | May be limited unless tactile markers or separate controls are provided | Physical movement is immediately felt |
| Layout flexibility | Can combine buttons, floor information, and messages | Each function normally needs a dedicated device |
| Fault isolation | May require board, power, and communication checks | Individual buttons and lamps can often be tested separately |
| Damage exposure | Faceplates and displays may be vulnerable to impacts or moisture ingress | Buttons can wear, stick, or lose illumination |
| Retrofit complexity | Can be high when protocol or cut-out changes are involved | Often simpler when replacing like-for-like components |
When a touch panel is a practical choice
A touch panel can be appropriate where a building needs a modern interface, clearer floor information, revised tenant directory content, or a more streamlined car operating panel. It may also be useful where the panel must display lift status, language options, service messages, or media content.
However, a flat interface should not remove clear physical references for important functions. Before specifying one, consider passengers with visual impairments, users wearing gloves, wet fingers, high passenger traffic, and the likelihood of damage in the particular building.
When mechanical buttons remain the better option
Mechanical buttons can be the stronger practical choice for high-abuse environments, simple controller systems, and projects where fast component-level maintenance is a priority. They also provide natural tactile feedback and can be easier to identify by touch.
A hybrid approach is common: use a display for floor position and messages, while retaining dedicated physical controls for floor calls, door open, door close, alarm, and emergency communication functions. This can improve the interface without making routine operation dependent on a single display assembly.
Display and user-interface options
The display should provide useful lift information at a readable size and contrast. A visually impressive panel that is difficult to read under car lighting or slow to react will create complaints rather than improve the lift experience.
Common display formats
Segment or dot-matrix indicators are typically used for basic floor position, travel direction, and simple status messages. They can be a durable choice where concise information is sufficient.
LCD panels can show floor numbers, arrows, text, graphics, and configurable messages. Their readability depends on viewing angle, backlight condition, protective cover quality, and controller integration.
TFT or colour displays allow more detailed graphics and content. They require careful evaluation of brightness, heat performance, power requirements, content control, boot-up behaviour, and replacement availability.
Touchscreen car operating panels combine input and display in one surface. These need the most thorough assessment because a fault can affect both command entry and passenger information.
For projects using compatible components, a Monarch-system LCD display panel illustrates the type of display hardware that must be checked against the controller system rather than selected by appearance alone.
User-interface requirements to assess
A good elevator user interface makes the next action obvious. Confirm the following before approval:
- Floor labels match the building's actual naming convention, including basement, podium, amenity, and parking levels.
- Selected floors have unmistakable confirmation through light, sound, or both.
- Text is readable from a normal standing position, with adequate contrast under installed lighting.
- Direction arrows and door status indicators are clear.
- The interface does not use small, crowded targets that passengers can activate accidentally.
- Important controls remain identifiable when decorative graphics, advertising, or tenant information is displayed.
- Display content does not obscure or delay essential lift status information.
- The design leaves a clear way to indicate out-of-service, fire service, overload, and emergency-related states where applicable to the system.
Avoid treating the car operating panel as an advertising screen first and an operating interface second. Passenger controls and status information need consistent priority.
Common touch-panel fault symptoms
Touch-panel faults usually fall into four groups: surface damage, sensor failure, power problems, and communication or configuration issues. Similar symptoms can originate in the panel, travelling cable, car-top junction, controller, or software settings, so replacement should not be the first diagnostic step.
| Symptom | Likely areas to inspect | Important distinction |
|---|---|---|
| One floor does not register | Touch zone, local circuit, button-board channel, controller input | Confirm whether the controller sees the command |
| Several or all touch areas fail | Supply voltage, common ground, data cable, panel board, controller communication | A total failure is less likely to be a single sensor fault |
| Random or false selections | Damaged faceplate, moisture, contamination, grounding, unstable supply | Isolate the panel before assuming a controller fault |
| Touch works intermittently | Loose connector, cable flexing, heat, moisture, poor earthing | Check operation during car travel as well as when stationary |
| Indicator lights but no car response | Panel output, controller input mapping, service mode, lift status | The panel may be functioning while the controller rejects the call |
| Display is blank but touch functions work | Backlight, display supply, screen module, display cable | Input and display may be on separate circuits |
| Display freezes or repeatedly restarts | Power quality, firmware, communication errors, failing electronics | Record timing and any controller fault codes |
| Touch response is slow or offset | Panel calibration, processor load, damaged sensor layer, configuration | Do not recalibrate blindly without preserving settings |
A disciplined fault-check sequence
Start by recording the symptom precisely: which buttons fail, whether the fault occurs on every trip, whether indicators respond, and whether the controller records an input. A short video and controller fault log can be useful during a service visit.
Then inspect the obvious physical causes. Look for cracked covers, water marks, loose fittings, damaged connectors, pinched wires, corrosion, and signs that the panel has been cleaned with unsuitable chemicals. Isolate power according to the lift maintenance procedure before touching wiring or boards.
Next, verify the specified supply at the panel under operating conditions, not only with the car idle. Check ground or reference connections and inspect the travelling cable where repeated flexing can create intermittent faults. For networked panels, confirm data-line continuity, termination requirements, addressing, and communication status at the controller.
Do not substitute an unverified panel merely because its dimensions and plug appear compatible. A mismatch can create non-operation, incorrect button mapping, missing indicators, or intermittent communication errors.
Controller and communication compatibility
Controller compatibility is the central technical check for an elevator touch panel upgrade. The panel, input board, controller software, display protocol, and wiring harness must operate as one system.
Information to collect before sourcing
A sourcing or maintenance team should document these details from the actual lift, not from memory:
- Lift controller manufacturer, model, revision, and available expansion boards
- Existing car operating panel part number and clear photographs of labels
- Wiring diagram, terminal schedule, and connector pinout where available
- Input type: individual dry contact, voltage input, matrix, serial bus, CAN, RS-485, or proprietary communication
- Supply voltage, current capacity, polarity, and grounding arrangement
- Number of stops and the exact car-call and function-button configuration
- Door open, door close, alarm, intercom, fan, light, attendant, fire service, or other functions fitted to the panel
- Display type, position indicator interface, and whether the display is controller-driven
- Car panel dimensions, cut-out, mounting points, and travelling-cable conductors available
- Required firmware version, device address, parameter settings, or programming tool
A panel intended for a 3300 or 3600 board arrangement, for example, should be selected only after verifying the board version, connectors, functions, and controller configuration. Relevant product references include an ID elevator touch button board 3300 and an elevator touch button board for 3300/3600 applications. These references do not establish compatibility by themselves; the installed system details still govern the decision.
Direct inputs and serial protocols are not interchangeable
A direct-input panel may use one connection per command and separate wires for lamps or indicators. A serial panel may use only power and data conductors, but it depends on a matching protocol and address. Converting between the two can require a dedicated interface, input/output board, or controller upgrade.
Common mistakes include:
- Matching the faceplate size while ignoring electrical signalling.
- Assuming a connector with the same number of pins has the same pin assignment.
- Failing to confirm whether the controller software supports the intended button layout.
- Reusing an old travelling cable without checking spare conductors or data-pair requirements.
- Omitting panel addressing or termination during commissioning.
- Installing a display without confirming its data format and resolution requirements.
Where records are incomplete, trace and identify existing wiring with the lift isolated and use manufacturer documentation or qualified technical support to validate the interface. Never rely solely on wire colours, as previous repairs may have changed them.
Accessibility and emergency operation
A modern interface should make the lift easier to use for a broad range of passengers, not only more visually polished. Accessibility needs must be considered before the panel layout is finalised, particularly where a touchscreen replaces physical controls.
Floor buttons and key functions should be reachable, legible, consistently placed, and distinguishable. Provide tactile identifiers and raised or Braille markings where required by the building's accessibility obligations and project specifications. Confirm that markings remain aligned with the actual function after installation; a mislabelled touch zone is an operational defect.
Visual confirmation should be paired with audible feedback where appropriate. Colour alone should not be the only indication that a call has registered. High contrast, sufficiently large characters, and logical floor ordering support quicker use by all passengers.
Emergency-related functions require particular care:
- The alarm and emergency communication arrangement must remain functional and accessible.
- The panel must not create uncertainty about how to summon help during a fault.
- Required emergency functions must continue to operate during the conditions specified for the lift system.
- Fire service, inspection, and restricted-access functions must retain their intended operation and labelling.
- Any interface change should be reviewed against the applicable local code, authority requirements, building specifications, and lift manufacturer's instructions.
Do not allow a consumer-style touchscreen to become the sole practical route to emergency operation unless the complete lift design, applicable requirements, and approved functions specifically support it.
Retrofit and modernization planning
A touch-panel retrofit should begin with a scope decision: replace a failed component, renew the car operating panel, update the display, or modernise the controller and fixtures together. These choices have very different costs, risks, and downtime implications.
Choose the scope that solves the real problem
A like-for-like board or panel replacement may be suitable when the controller is reliable, the wiring is sound, and only the interface has failed or become worn. It minimises changes but may preserve limitations in display capability or accessibility.
A fixture upgrade can renew the car operating panel, landing indicators, and aesthetics while retaining the existing controller. This is viable only when suitable interfaces are available and the controller can support the desired functions.
A controller-plus-fixture modernisation offers the greatest flexibility for new displays, serial fixtures, diagnostics, and revised operating logic. It also has the greatest commissioning requirement. Plan it as a full system change, not as a cosmetic panel swap.
Survey before ordering
Carry out a site survey with the car available for inspection. Measure the panel aperture, mounting studs, depth behind the faceplate, door-zone clearances, and cable routes. Photograph the front and rear of the existing panel, all labels, connectors, and terminal blocks.
Confirm the car finish and any surrounding fixture work. A new panel may need a cover plate or metalwork modification if it does not match the existing cut-out. Consider cleaning access and protection from moisture, vandalism, sharp objects, and aggressive cleaning products.
For Philippine projects, also assess the building's actual electrical environment. Supply fluctuations, weak grounding, heat, humidity, and moisture exposure can affect sensitive electronics. Specify protection and installation practices that suit the site, but do not assume these measures will correct a controller or wiring fault.
Procurement and handover considerations
For multi-brand repairs and modernisation work, retain a record of the part number, photographs, wiring information, controller settings, and test results. This is especially helpful for maintenance contractors, distributors, and sourcing teams supporting repeat orders or future fault diagnosis.
Kelevator supplies multi-brand elevator spare parts to B2B importers, distributors, maintenance contractors, and OEM buyers. When requesting a panel or board, provide the verified technical information above so the item can be evaluated against the intended installation rather than selected from a photo alone.
Testing after installation
Installation is not complete when the new elevator touch panel powers up. Test the panel as part of the complete lift system and record the results before returning the lift to normal service.
Minimum functional test checklist
- Confirm the panel is firmly mounted, edges are safe, labels are correct, and no wiring is strained or trapped.
- Verify supply voltage, polarity, grounding, and communication connections against the approved documentation.
- Test every floor selection from the car and check that the correct floor is registered and served.
- Confirm each selected floor has clear feedback through illumination, display, audible signal, or the specified combination.
- Test door open and door close functions where fitted, observing normal lift operating conditions.
- Test alarm and emergency communication functions in accordance with the site's approved procedure.
- Check floor position, travel direction, door status, and special operating messages on the display.
- Exercise the lift through normal runs and observe for intermittent failures caused by car movement or cable flexing.
- Test relevant service, access-control, fire service, or attendant functions using authorised personnel and procedures.
- Review controller diagnostics for communication errors, input faults, or unexpected event logs.
Where a retrofit changes controller parameters, retain a backup of the original configuration where permitted and document the final settings. Confirm that the maintenance team receives wiring diagrams, part references, programming details, and any special reset or replacement procedure.
A brief post-installation observation period is sensible for any newly fitted electronic interface. Look for missed calls, false inputs, display resets, heat-related behaviour, and passenger confusion about the layout. Resolve these issues before they become recurring call-outs.
FAQ
Can any elevator touch panel replace a mechanical button panel?
No. The replacement must match or be properly interfaced with the controller's input type, power supply, wiring, functions, and physical mounting. A similar-looking panel is not enough.
Why does an elevator touch button light up but not move the lift?
The touch panel may be registering the input while the controller does not accept the call. Check controller input mapping, lift operating mode, communication status, floor availability, and fault logs before replacing the panel.
Are touch panels suitable for older elevators?
They can be, but older installations often use direct wiring, limited controller inputs, or fixtures that do not support a modern display protocol. A site survey and compatibility review determine whether a simple retrofit or a wider modernisation is appropriate.
What details should be sent when sourcing a replacement panel?
Send the controller model, existing panel part number, photos of the front and rear, connector and wiring details, supply requirements, number of floors, button functions, display requirements, dimensions, and any fault symptoms. This information reduces the risk of ordering an incompatible component.
Select an elevator touch panel after verifying its controller interface, operating functions, accessibility provisions, and installation constraints. For a replacement or upgrade enquiry, prepare the system details and photographs first so the technical match can be assessed accurately.
Related product references
For practical catalog examples related to this topic, review [ID Elevator Touch Button Board 3300 lift parts](/products/id-elevator-touch-button-board-3300-lift-parts/), [Elevator Touch Button Board 3300 3600 lift parts](/products/elevator-touch-button-board-3300-3600-lift-parts/), and [Monarch system LCD display panel lift parts elevator accessories](/products/monarch-system-lcd-display-panel-lift-parts-elevator-accessories/). Confirm the exact model, dimensions, ratings, and connectors before ordering.