
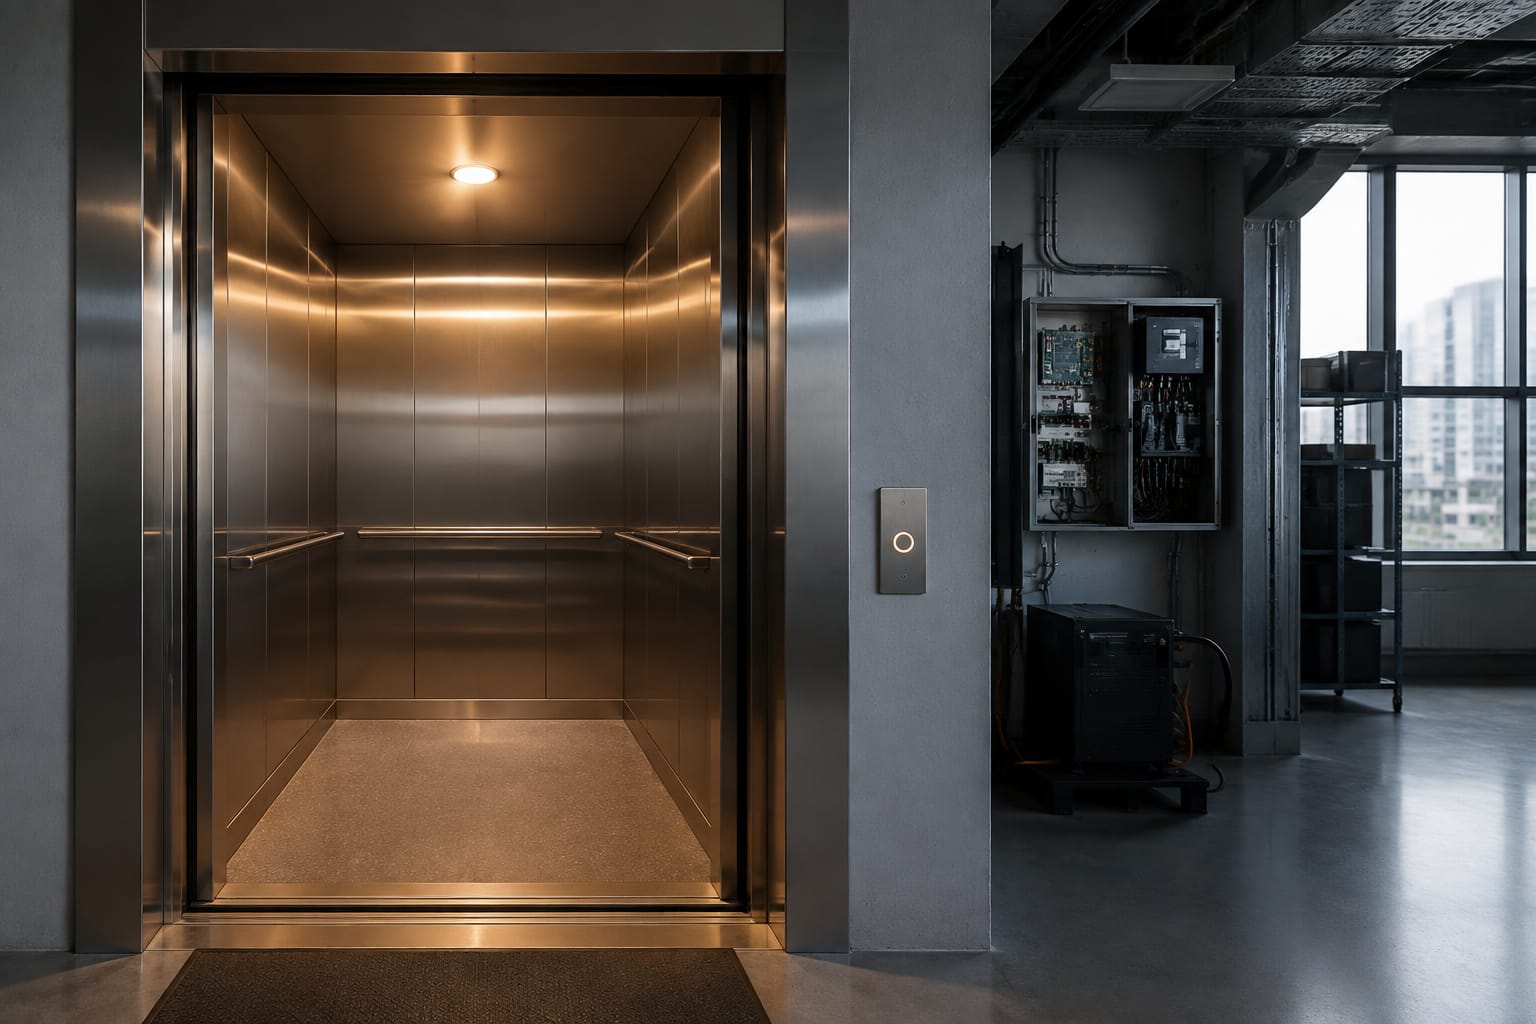
An elevator emergency light must provide usable illumination inside the car when the normal supply fails. It depends on three things working together: the light unit, a charged battery, and a compatible emergency power supply or charging circuit. If any one of these fails, passengers may be left in a dark car during a power interruption.
For maintenance teams in the Philippines, the practical approach is to inspect the installed assembly first, test it under a controlled loss of normal power, and replace only parts that match the existing voltage, battery type, connections, dimensions, and lift-controller arrangement. Do not assume that two units with similar housings or labels are electrically interchangeable.
Purpose of elevator emergency lighting
Elevator emergency lighting is a safety function inside the car. Its purpose is to maintain light when the building's normal supply to the lift equipment is interrupted. It helps passengers remain oriented and helps responders assess the car during an entrapment or recovery procedure.
Emergency lighting is separate from the normal car lighting circuit, even when both are installed in the same ceiling panel. Normal lights generally receive power while the elevator operates normally. The emergency light system uses stored battery energy or a dedicated emergency supply so it can continue operating after normal power disappears.
A functioning system should:
- Turn on automatically when the normal lighting supply fails.
- Provide enough illumination for passengers to see the car interior, door area, alarm device, and any posted instructions.
- Continue for the required duration specified for the installation.
- Recharge its battery when normal power is restored.
- Remain reliably connected despite vibration, door operation, and routine lift maintenance.
The exact design varies by manufacturer and lift age. Some cars use a self-contained emergency lamp with an internal rechargeable battery. Others use LED modules fed by a separate emergency lighting power supply. Older installations may use a battery-and-charger assembly connected through relays or controller terminals.
Emergency lighting does not replace a properly maintained alarm, intercom, automatic rescue device, or building emergency-power arrangement. These systems serve related but different functions. A car may have emergency lights even if it is not designed to travel to a landing during a building outage.
Light units, batteries, and power supplies
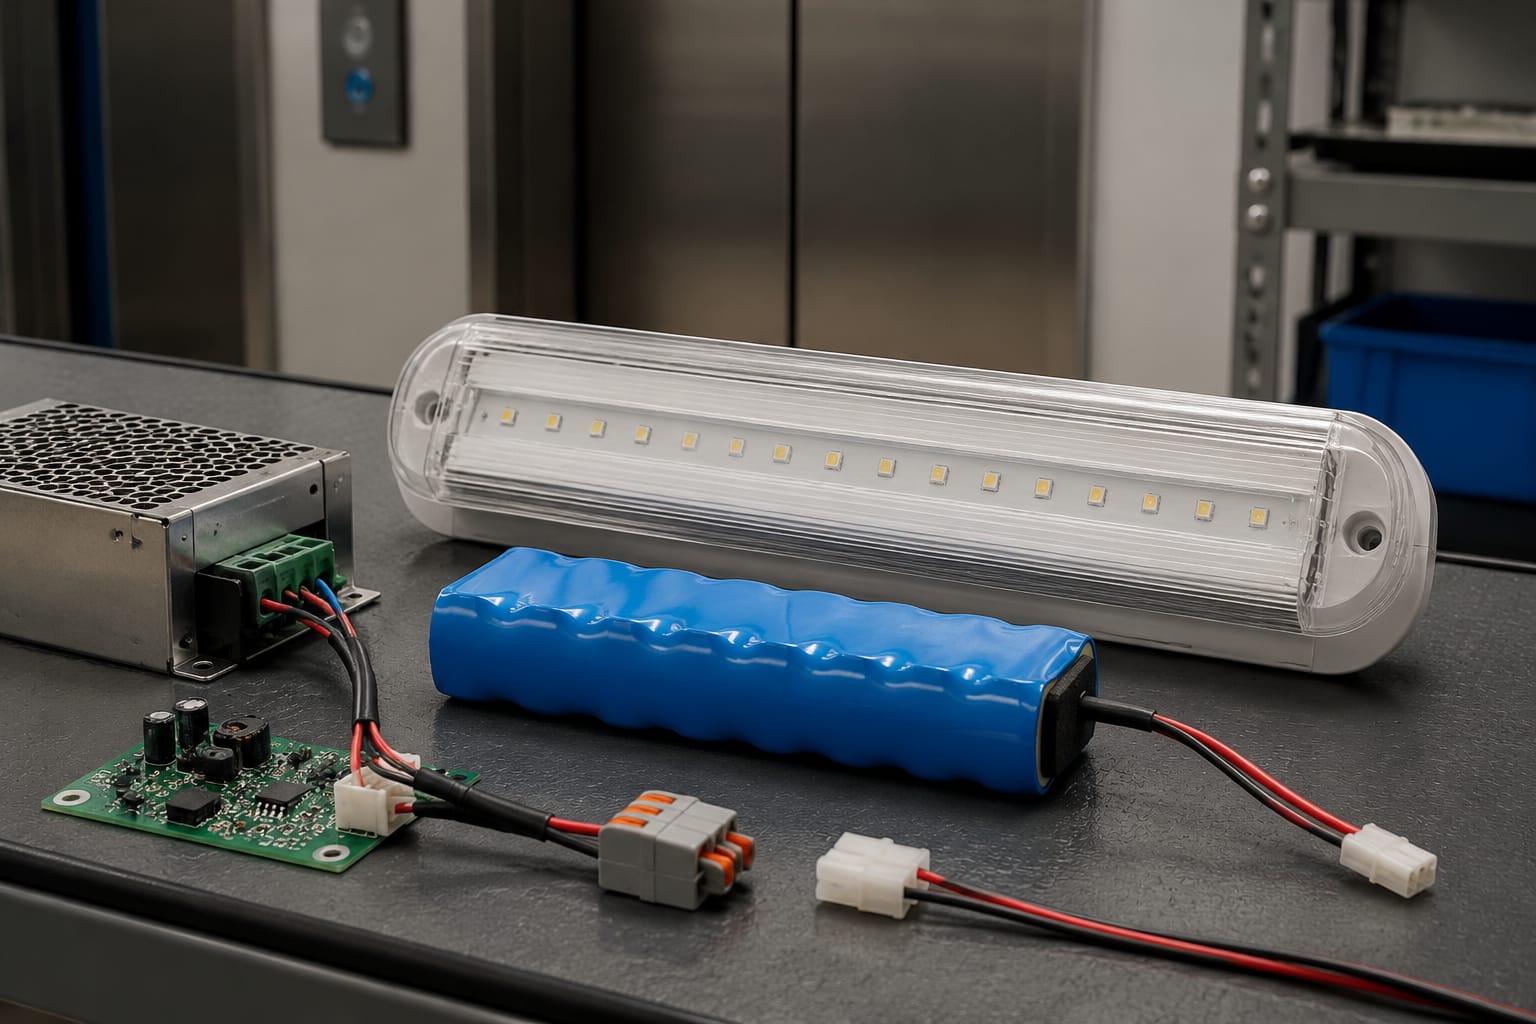
The emergency-light circuit works only when its components are compatible. Before diagnosing or ordering a spare part, identify the role of each installed item.
| Component | Main function | What to identify before replacement |
|---|---|---|
| Emergency light unit | Produces illumination inside the car during a power failure | Rated input voltage, lamp or LED type, polarity, connector, mounting size, lens and housing arrangement |
| Battery pack | Stores energy for emergency operation | Nominal voltage, chemistry, capacity, cell configuration, connector, polarity, physical dimensions and temperature condition |
| Emergency lighting power supply | Charges the battery and supplies or switches power to the emergency lamp | Input supply, output voltage, charging method, battery compatibility, output current, terminals and installation space |
| Wiring and connectors | Carry charging and emergency power between components | Cable condition, fuse protection, connector type, pin arrangement, polarity, continuity and strain relief |
| Control relay or controller interface | Detects loss of normal power or commands emergency mode | Contact logic, coil voltage, controller terminal designation and wiring diagram |
Emergency light units
Many modern elevator cars use LED emergency light modules because they draw less current than older incandescent lamps. However, an LED unit is not automatically compatible with every emergency supply. A module may require a specific DC input, observe polarity, or contain electronics intended for a particular battery arrangement.
Check whether the installed unit is:
- A self-contained rechargeable emergency lamp.
- A low-voltage DC lamp powered by a separate battery pack.
- A lamp supplied by a dedicated emergency lighting power supply.
- A combined normal and emergency lighting assembly.
- A proprietary module integrated into a car operating panel or ceiling fixture.
For instance, a [DC12V Otis car emergency lighting unit](/products/car-emergency-lighting-dc12v-otis-elevator-parts-lift-accessories/) may be relevant where the existing system is confirmed as a 12 V DC Otis-type application. The product label, wiring diagram, connector arrangement, and physical fit still need to be checked against the installed equipment before ordering.
Battery packs
Battery failure is one of the most common reasons an elevator emergency light does not remain on during an outage. A pack may look intact but have lost usable capacity due to age, heat, prolonged undercharging, overcharging, corrosion, or an extended storage period.
The rated battery voltage is essential, but it is not the only selection criterion. A replacement pack must also match:
- Battery chemistry, such as the type specified by the original equipment.
- Number of cells and nominal voltage.
- Capacity appropriate to the required emergency run time.
- Connector and lead length.
- Polarity and pin arrangement.
- Space available in the fixture or control cabinet.
- Charging characteristics supported by the installed power supply.
Do not substitute a battery solely because it has the same voltage. An incompatible chemistry or capacity can prevent proper charging, shorten service life, damage the charger, or fail to provide the expected operating duration.
Emergency power supplies
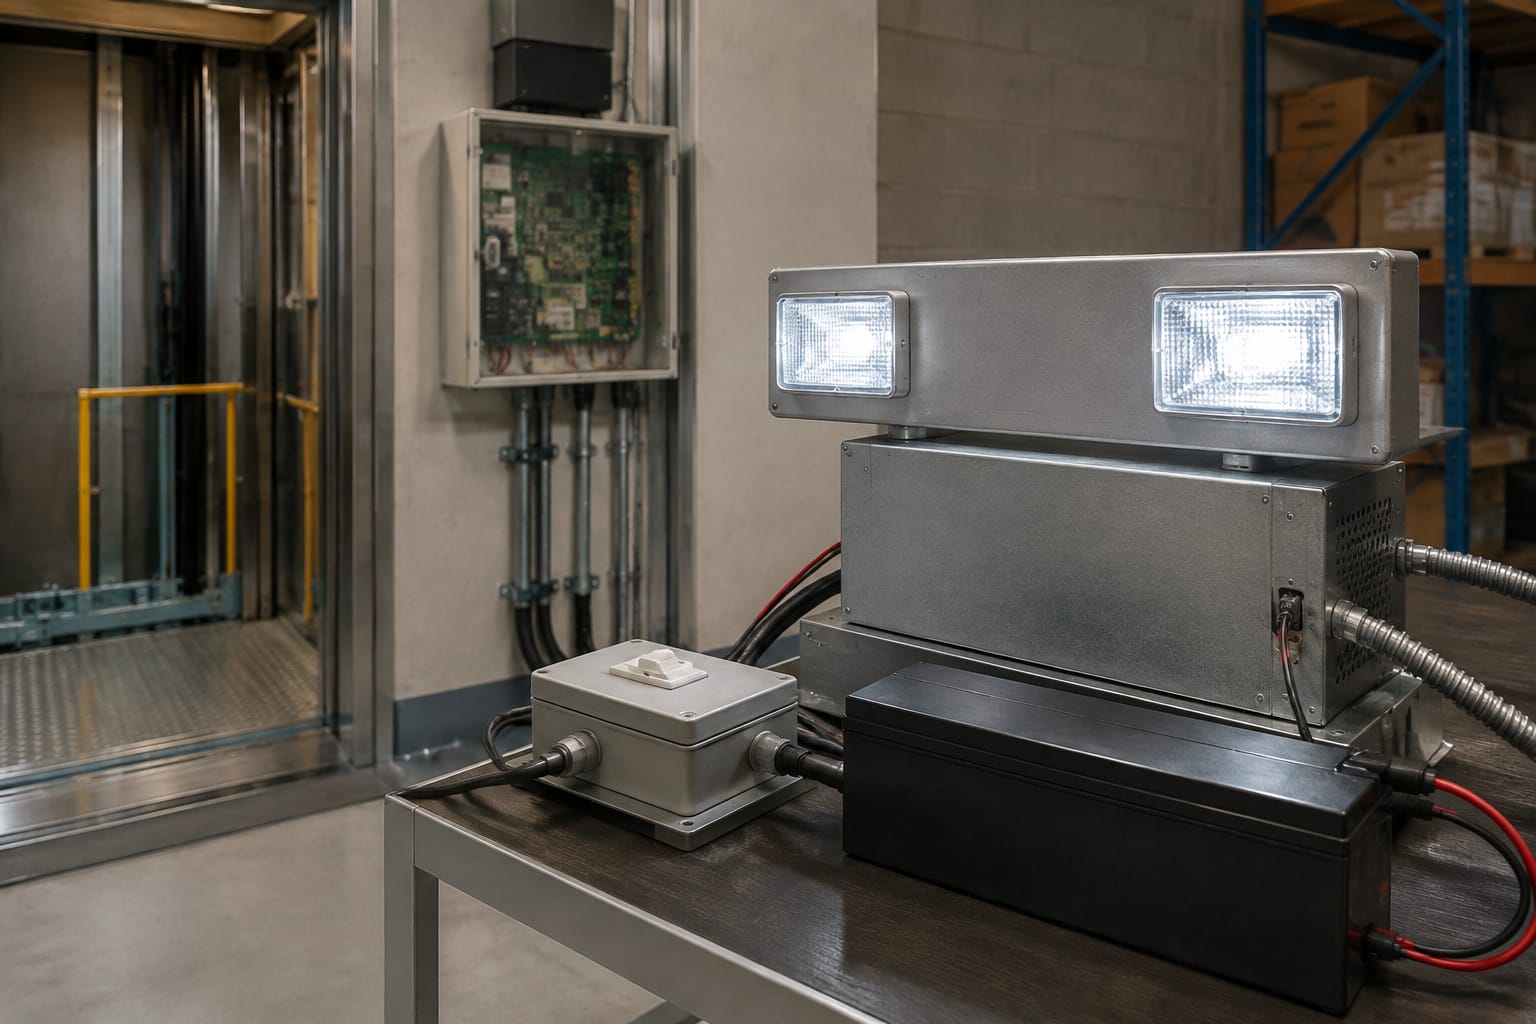
The emergency lighting power supply usually accepts the normal supply, charges the battery during normal operation, and changes over to battery power when the normal source is lost. In some designs, it also regulates the output sent to the lamp.
A [replacement elevator emergency lighting power supply](/products/emergency-lighting-power-supply-lift-accessories-elevator-spare-parts/) should be evaluated by electrical and mechanical compatibility, not by appearance. Confirm its input rating, output rating, battery requirements, connector and terminal layout, charging function, mounting provisions, and any interface with the lift control system.
Certain branded lift systems use a dedicated emergency supply arrangement. For a confirmed compatible application, an [emergency power supply for Hitachi elevator parts](/products/emergency-power-supply-hitachi-elevator-parts-lift-accessories/) may be a suitable sourcing reference. The existing part number, wiring diagram, and installed specifications should govern the final selection.
Normal and emergency operating modes
Testing becomes easier when the expected behaviour is clear. Most elevator emergency-light systems have two basic modes.
Normal operating mode
With normal power present, the power supply or charger maintains the battery. Depending on the design, the emergency lamp may be off, remain dimly lit, or form part of the normal car lighting circuit.
During this mode, check for signs that the charging circuit is working:
- A status indicator, where provided, shows normal charging or ready condition.
- Battery terminals and connectors are clean and secure.
- The battery is not swollen, leaking, unusually hot, or corroded.
- Wiring is routed away from sharp edges and moving components.
- The normal car lights and emergency circuit do not create flickering or intermittent operation.
A lamp that appears normal while mains power is available has not necessarily passed an emergency-light test. The battery and changeover function must be tested separately.
Emergency operating mode
When the normal supply is interrupted, the emergency circuit should switch to battery-backed operation automatically. The exact response can be immediate or controlled by the system design, but the lamp must not depend on manual intervention from passengers.
During emergency mode, verify that:
- The emergency light turns on as expected.
- The illumination remains stable rather than flashing or fading quickly.
- The designated emergency fixture is lit, not only a residual normal lamp.
- The battery maintains light for the required test duration.
- Restoring normal power returns the system to charging condition.
A brief light output followed by rapid dimming commonly indicates a weak battery, poor battery connection, or charging problem. No output at all may indicate a failed lamp, open fuse, faulty changeover circuit, reversed polarity, disconnected wiring, or no stored battery charge.
Common emergency-light faults
A clear symptom-based inspection prevents unnecessary replacement of the full assembly.
| Symptom | Likely causes | Initial checks |
|---|---|---|
| Emergency light does not turn on during a power-loss test | Discharged or failed battery, blown fuse, open wiring, defective lamp, failed power supply or relay | Confirm battery voltage, fuse continuity, connector seating, lamp input and switching signal |
| Light turns on but goes off quickly | Battery has lost capacity, battery is not charging, high-resistance connection, excessive load | Inspect battery age and condition, measure charge voltage, check terminals and compare load demand |
| Light is dim or flickers | Weak battery, loose connector, failing LED driver, corroded terminals, voltage drop in wiring | Inspect voltage at the lamp under load, tighten terminals, inspect lamp driver and cable condition |
| Battery becomes hot, swollen or leaks | Incorrect charging, failed charger, end-of-life battery, unsuitable replacement pack | Isolate and replace the battery safely; check charger output before fitting a new pack |
| System does not recharge after a test | Failed charger, absent normal input, fuse issue, damaged wiring, incompatible battery | Check input supply, charging voltage, fuse, wiring continuity and battery specification |
| Light stays on during normal power | Faulty changeover relay, incorrect wiring, failed sensing circuit, supply issue | Verify normal input, relay operation and wiring against the equipment diagram |
A repeated emergency-light failure after battery replacement should not be treated as a battery-only issue. Measure the charging circuit before installing another pack. Otherwise, a defective charger can damage the replacement battery or leave it uncharged.
Check voltage, battery, and wiring
Emergency-light work should be performed by trained personnel following the lift manufacturer documentation, the building's safety procedures, and applicable local requirements. Avoid working on a live circuit unless the task specifically requires measured testing and it can be completed safely.
1. Record the installed details
Before disconnecting anything, photograph labels and record:
- Lift brand, model and car identification where available.
- Part numbers on the lamp, battery, charger, and power supply.
- Input and output ratings.
- Battery voltage, chemistry, capacity, and connector.
- Wire colours, terminal labels, and connector positions.
- Fuse rating and location.
- Mounting dimensions and available clearance.
This record reduces errors during reassembly and makes sourcing more accurate, especially for modernisation projects where original documentation may be incomplete.
2. Inspect the physical condition
With the appropriate isolation procedure completed, inspect the lamp housing, battery compartment, wiring harness, terminals, and mounting points. Look for heat discolouration, cracked insulation, loose terminals, water ingress, corrosion, crushed wiring, or an unsecured battery pack.
Do not bypass a fuse or bridge a damaged connection to make the lamp work temporarily. A fuse operates as circuit protection. Identify the reason it opened and replace it only with the specified type and rating.
3. Measure the battery at rest
Using a suitable meter, measure battery voltage at the battery terminals and compare it with the battery's nominal rating and the manufacturer's guidance. A reading alone is not a full capacity test: a degraded battery can show a reasonable no-load voltage and collapse when the lamp is switched on.
If the battery is visibly damaged, leaking, or swollen, do not continue a load test. Replace it according to safe battery-handling and disposal procedures, then investigate whether charging conditions contributed to the failure.
4. Check charging voltage in normal mode
Restore normal conditions as safely permitted and measure whether the charger or emergency power supply is delivering the correct charging output. Use the equipment documentation for the expected range and method. Battery type matters; an incorrect charging profile can create both undercharging and overheating problems.
If there is no charging output, work backwards through the input supply, fuse, terminals, control contacts, and power-supply module. If charging output is present but the battery still does not retain power, the battery may be at end of life or unsuitable for the circuit.
5. Check lamp voltage during emergency mode
Conduct a controlled power-loss test and measure voltage at the emergency light input. This separates a supply-side problem from a light-unit problem.
- Correct voltage at the lamp but no light suggests a failed lamp or LED driver.
- No voltage at the lamp points to wiring, connectors, fuse, relay, battery, or power supply.
- A significant voltage drop under load can indicate a weak battery, poor connection, undersized or damaged cable, or excessive lamp load.
Take care with polarity on DC circuits. Reversed polarity can prevent an LED module from operating and may damage equipment that lacks reverse-polarity protection.
Match replacement power supplies
The right replacement emergency power supply must match the original system's electrical role and physical installation. Matching a product name or nominal voltage alone is insufficient.
Use this checklist when comparing replacement options:
| Compatibility item | Why it matters | What to confirm |
|---|---|---|
| Normal input supply | The module must accept the actual supply available in the car or controller | Voltage, AC or DC, frequency where applicable, terminals and protective arrangement |
| Battery system | Charging must suit the installed or replacement battery | Nominal voltage, chemistry, capacity range, charge method and connector |
| Emergency output | The lamp must receive the correct supply during an outage | Output voltage, DC polarity, current capability, regulation and load type |
| Switching behaviour | The light must change over correctly when normal power fails | Automatic changeover logic, relay contacts, delay behaviour and controller interface |
| Physical fit | The component must mount safely without stressing cables | Dimensions, mounting holes, enclosure, terminal access and ventilation needs |
| Connection layout | Incorrect connectors can cause miswiring or unreliable contact | Plug type, pinout, lead length, terminal labels and wire gauge |
| Documentation | Part numbers alone may have supersessions or variants | Equipment manual, wiring diagram, old-part label and supplier technical data |
An emergency supply with greater output capability is not automatically a better replacement. It may be unsuitable if its charging profile, switching logic, output voltage, or connector arrangement differs from the original design.
For B2B sourcing teams and maintenance contractors, provide the supplier with clear photographs of both labels, the connector faces, the complete wiring context, and measured dimensions. State whether the request is for a lamp, battery pack, power supply, or a complete assembly. Kelevator supplies multi-brand elevator spare parts for B2B importers, distributors, maintenance contractors, modernisation companies, and OEM buyers; accurate identification information helps keep cross-reference and compatibility checks focused on the actual installed system.
Routine inspection and test intervals
The correct inspection and test intervals depend on the lift manufacturer's instructions, building safety programme, maintenance contract, and applicable local requirements. Use those requirements as the controlling schedule.
As a practical maintenance framework, include emergency lighting in routine lift visits and conduct documented functional tests at the interval required for the site. A more complete duration test may require advance planning because the battery needs sufficient recharge time afterwards.
A useful programme normally includes:
- Visual inspection of the lamp, battery, cables, connectors, and indicators during regular maintenance.
- Functional test by controlled interruption of normal lighting power, where the system permits it safely.
- Duration test according to the specified emergency operating period.
- Battery condition assessment and replacement based on test results, condition, and manufacturer guidance.
- Charging-voltage verification after a failed test or battery replacement.
- Maintenance records showing date, result, defects found, replacement parts, and post-repair verification.
Avoid performing an extended discharge test immediately before a period when the lift may need emergency operation, unless the battery can be fully recharged and the site's safety process permits the test. A duration test deliberately consumes stored battery energy.
High ambient temperature, ventilation issues, cabinet contamination, and frequent power interruptions can shorten battery life. Where these conditions exist, inspections may need closer attention even if the formal test interval remains unchanged.
Verify operation after repair
A repair is complete only when the entire emergency-light function has been checked, not merely when the new part illuminates.
Use this post-repair checklist:
- Confirm all terminals, connectors, fuses, mounting screws, and cable restraints are secure.
- Recheck polarity and terminal designations against the wiring diagram and recorded pre-repair condition.
- Restore normal supply and verify that the power supply enters its normal charging state.
- Allow the battery to charge for the period specified by the battery or equipment manufacturer before relying on a full duration result.
- Perform a controlled emergency-mode test and confirm automatic changeover.
- Check that the lamp remains steady and that relevant car lighting is adequate.
- Complete the required duration test when the battery is fully charged and conditions allow.
- Restore the lift to normal service, confirm no unrelated alarms or faults remain, and document the work performed.
Do not declare a new battery successful solely because the lamp turns on for a few seconds. The meaningful test is whether the system switches correctly and sustains illumination for the required period.
FAQ
Can an elevator emergency light use the normal car-lighting supply?
Normal car lighting may share fixtures or wiring routes with emergency lighting, but the emergency function needs an independent stored-energy path or other approved emergency source. A normal supply alone cannot keep the light operating when that supply fails.
Why does the light work during maintenance but fail during a blackout?
It may be receiving normal power rather than battery power. A weak battery can also produce light briefly without sustaining it. Test the unit by safely simulating loss of normal supply and observing it under battery load.
Can a higher-capacity battery be fitted?
Only if the emergency power supply supports its chemistry, charging requirements, dimensions, connector, and capacity range. A physically fitting battery may still be electrically unsuitable.
Should an emergency-light battery be replaced with the same voltage only?
No. Confirm voltage, chemistry, capacity, connector, polarity, dimensions, charging compatibility, and required operating duration. These factors determine whether the battery will charge and perform correctly.
What information is needed to source a replacement?
Collect the old part number, photographs of labels and connectors, input and output ratings, battery details, wiring diagram if available, dimensions, and the lift brand or model. This information is more reliable than identifying a part from its housing alone.
For a replacement or repair decision, start with the installed labels and a measured diagnosis of the battery, lamp output, charging voltage, and wiring. That approach identifies whether the fault is a consumable battery, a damaged connection, a failed light unit, or an incompatible or defective emergency power supply.