
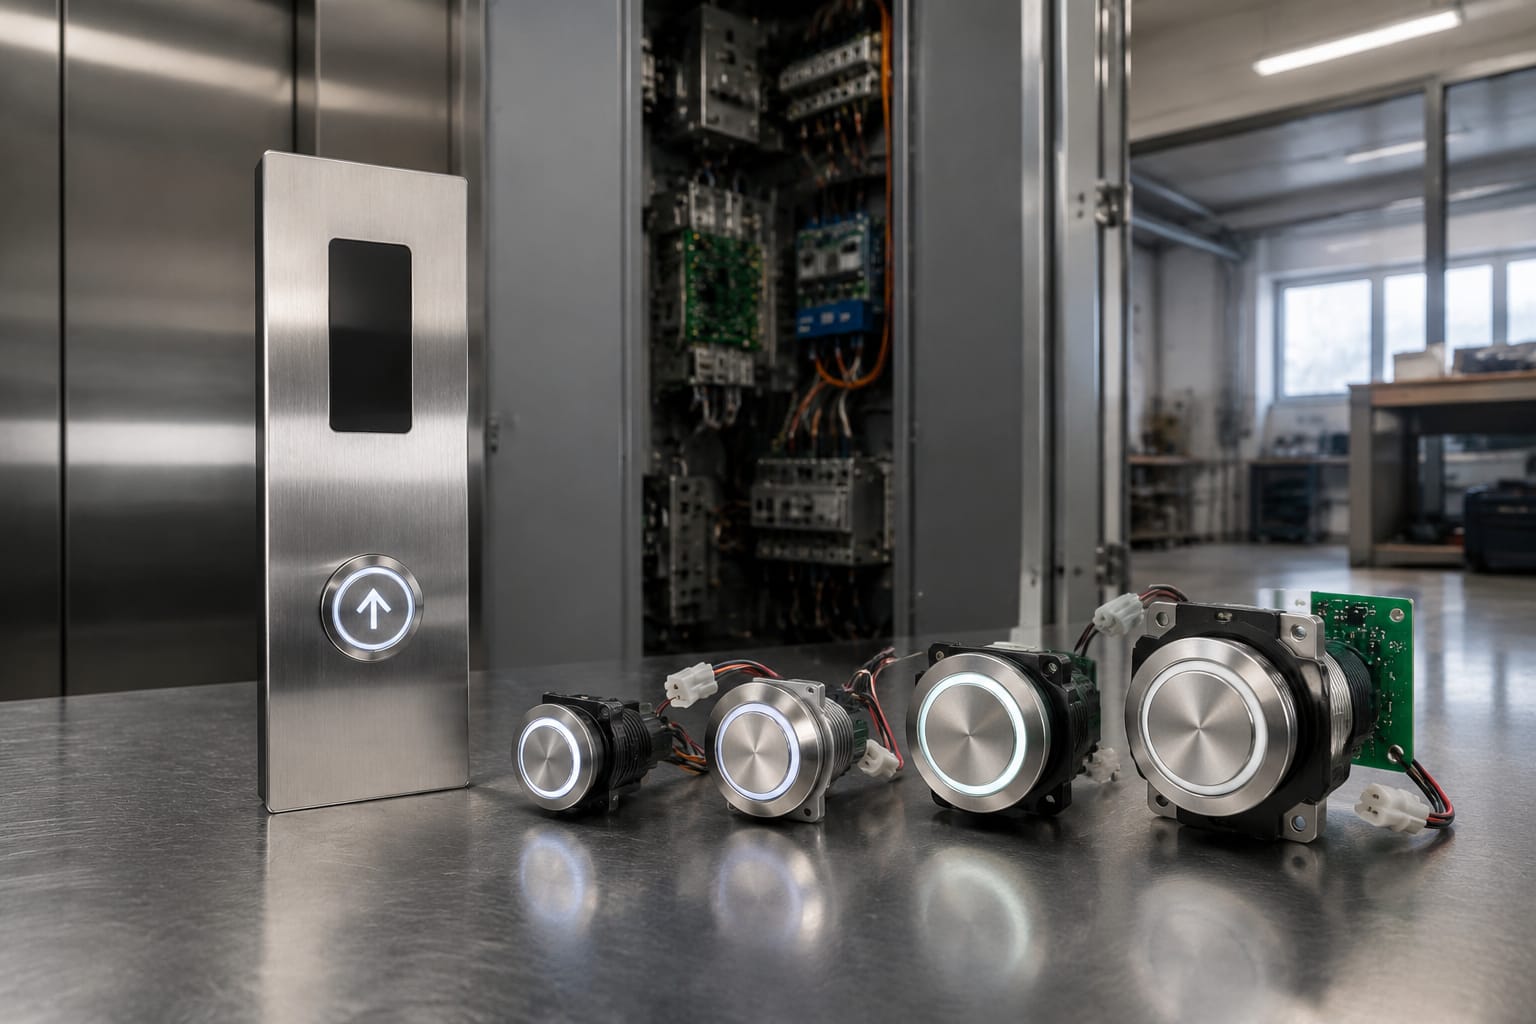
Elevator buttons replacement is straightforward only when the fault and the replacement part have both been identified correctly. A button that does not respond may be worn out, but it can also point to a loose harness, failed illumination circuit, incorrect input-board configuration, or controller issue.
For reliable elevator button replacement, confirm the button's physical dimensions, mounting method, electrical rating, illumination type, connector and signal behaviour before ordering. Replacing a visibly similar button without these checks can leave the lift out of service longer or create a new fault after installation.
When an elevator button needs replacement
Replace an elevator push button when testing shows that the button assembly itself has failed or is no longer suitable for safe, clear passenger use. Common signs include:
- The button does not register a call even when pressed firmly.
- The button sticks, binds, remains depressed, or has excessive side movement.
- The face is cracked, faded, loose, badly scratched, or missing tactile markings.
- The illumination is intermittent or permanently off while the circuit and wiring test correctly.
- The button lights but does not send a valid signal to the car operating panel or hall-call board.
- Moisture, corrosion, cleaning chemicals, vandalism, or impact has damaged the assembly.
- A modernisation project requires a consistent button type, finish, illumination colour, or accessibility feature across the panel.
A button can remain mechanically usable while its legend, Braille marking, raised numeral, or indicator lamp is no longer clear. In passenger lifts, this is more than a cosmetic concern. Riders need to identify floors and functions quickly, especially during heavy building traffic or an emergency.
Before replacing a single unit, inspect adjacent buttons. Multiple failures in the same panel often indicate a shared wiring, board, power-supply, or environmental problem rather than several independently failed buttons.
Diagnose the button, board, or wiring
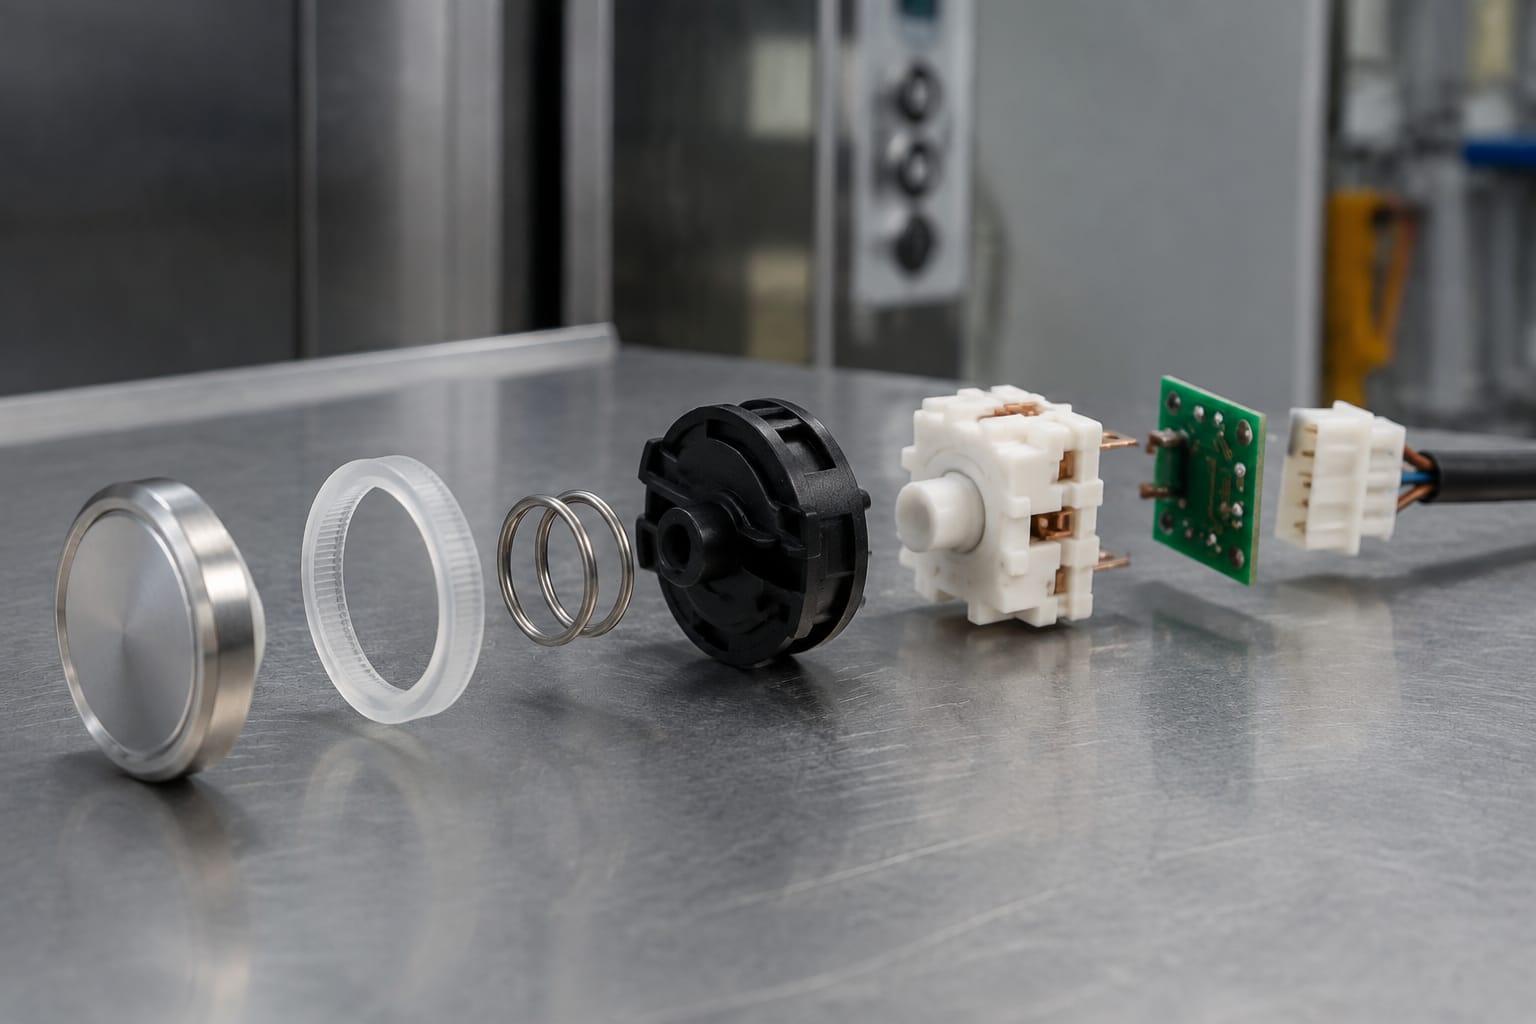
Do not assume an unresponsive button is defective. Isolate the source of the fault before removing or ordering parts.
A qualified elevator technician should secure the equipment and follow the site safety procedure before accessing a car operating panel, hall station, or controller. The exact process depends on the lift manufacturer, controller design, and building arrangement.
Start with the symptom
The symptom provides useful direction:
| Symptom | Likely causes to check | Practical next check |
|---|---|---|
| Button has no light and no response | Failed button, open wiring, lost supply, board fault | Check supply and continuity at the button connector |
| Button lights but call is not accepted | Contact failure, input-board issue, configuration or controller fault | Test button output and compare with a working button |
| Button responds only sometimes | Worn contacts, loose connector, damaged cable, moisture | Inspect connector retention and test while moving the harness carefully |
| Several buttons fail together | Shared supply, harness, board, controller issue | Check common voltage, board status and shared connectors |
| Light stays on continuously | Stuck contact, failed LED circuit, board output issue | Compare command and feedback signals with a known-good point |
| Button is hard to press | Mechanical wear, contamination, incorrect mounting pressure | Remove and inspect the actuator and panel cut-out |
Compare against a known-good button
Where the panel uses repeated button positions, comparing the faulty button with a working one is often the fastest diagnostic method. Record:
- Supply voltage at each button
- Contact state before and during a press
- LED or lamp supply and polarity where applicable
- Connector pin positions
- Cable continuity between the button and board
- Whether the controller receives the input
A continuity reading alone does not always prove that the installed button is suitable. Some modern lift fixtures use LED modules, multiplexed communications, serial links, common-anode or common-cathode arrangements, or manufacturer-specific boards. Match the electrical behaviour, not just the number of terminals.
Look beyond the fixture
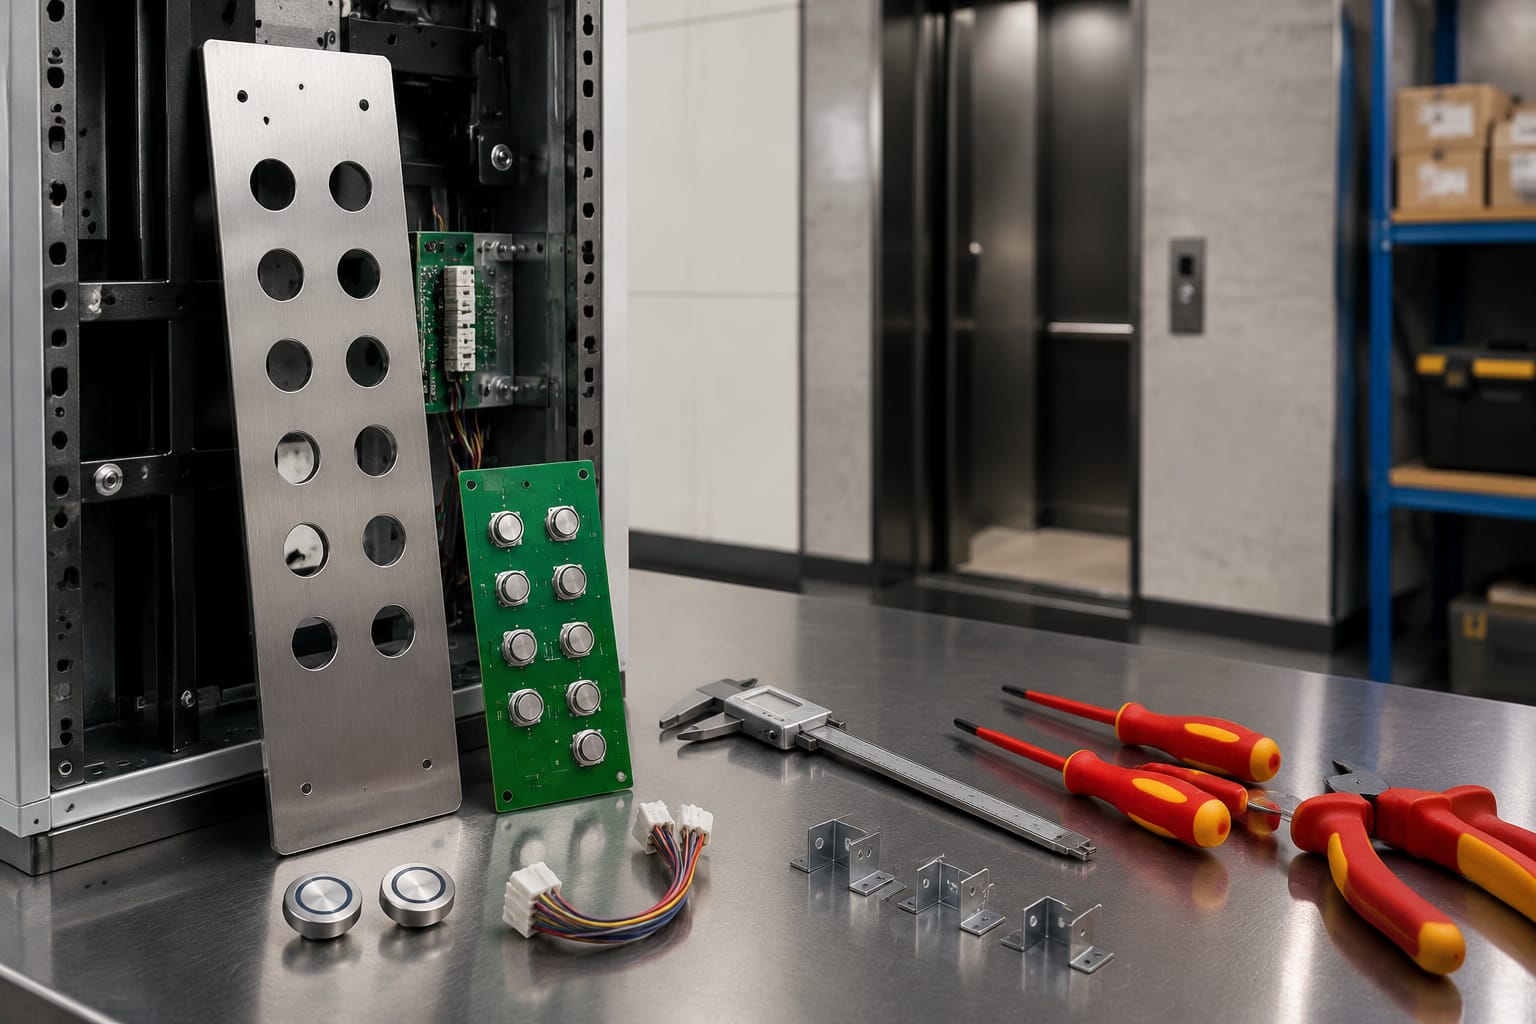
Check for water ingress around hall stations, damaged car-panel looms, pinched wires, loose terminals, and signs of previous non-standard repairs. In the Philippines, humidity and moisture exposure can accelerate corrosion at connectors and terminals, especially where landing fixtures are exposed to wet cleaning, condensation, or inadequate sealing.
If a button failure returns after replacement, investigate the cause rather than repeatedly changing the same part. An unstable supply, damaged harness, unsuitable cleaning method, or board output issue can damage a replacement button as well.
Record dimensions and mounting style
The physical fit is one of the most important elevator button replacement checks. A replacement can have the correct electrical function but still be unusable if it does not fit the panel cut-out, mounting depth, retaining method, or faceplate design.
Before removing the old item, take clear photos from the front, rear, side, connector, and label. Measure the part with callipers where possible.
Record the following details:
- Outside diameter or width and height of the button face
- Panel cut-out diameter or opening dimensions
- Button body depth behind the panel
- Required clearance behind the panel for wiring and connectors
- Threaded body, clip, screw, nut, spring-retainer, or snap-fit mounting style
- Panel thickness that the button is designed to clamp
- Position of locating tabs, anti-rotation flats, or alignment pins
- Face style: round, square, rectangular, raised, flush, concave, or convex
- Legend type: floor number, arrow, door open, door close, alarm, intercom, or key switch
- Material and finish, such as stainless steel, chrome-look, black plastic, or coloured bezel
Do not measure only the visible face. Two circular buttons may look alike from the passenger side but have different bodies, cut-outs, depths, and retaining arrangements.
For example, a [27 mm Otis-style green-light button with a four-pin open-hole arrangement](/products/button-4-pins-open-hole-27mm-green-light-otis-elevator-parts-lift-accessories/) may be relevant only where the original button's mounting, pin arrangement, light function and system application all match. The product name alone is not a compatibility confirmation.
Where an old button has no readable part number, photographs beside a ruler, connector photos, panel cut-out measurements, and the lift or fixture details give a supplier much better information than a front-view photo alone.
Match voltage, illumination, and connector
Electrical compatibility has four core parts: operating voltage, signal method, illumination design, and connector arrangement. All four need to match the existing system or be deliberately adapted as part of an engineered panel upgrade.
Confirm voltage and current requirements
Buttons may use different supply arrangements for lamps, LEDs, switches, or electronic modules. Confirm the rated voltage shown on the part label, wiring diagram, controller documentation, or a verified identical sample.
Do not substitute a button simply because it physically fits. Applying the wrong voltage can produce a dim indicator, immediate component damage, intermittent operation, or no response at all.
If the original information is unavailable, identify the measured supply carefully and account for how the circuit behaves under load. A technician should also determine whether the button is powered directly, driven by a board output, or connected through a multiplexed fixture system.
Match the illumination function
Illuminated elevator buttons can vary by:
- LED, incandescent lamp, or replaceable lamp module
- Fixed, flashing, dimmable, or status-controlled illumination
- Ring light, halo, centre light, backlit legend, or side illumination
- Illumination before selection, after selection, or both
- Colour, including white, blue, green, red, amber, or manufacturer-specific shades
- Polarity and common wiring arrangement
A replacement with the wrong illumination layout can confuse passengers even if the call function works. In a car operating panel, confirm whether the button should light on selection, whether it must extinguish after the car stops, and whether it uses a separate feedback wire.
Verify terminals and connector pinout
Count pins, but do not stop there. Four-pin buttons, for example, may use their pins for very different purposes. One design may have separate LED supply and switch contacts; another may integrate common wiring or use a different pin order.
Record:
- Connector type, shape, locking feature and keyway
- Pin count and pin numbering
- Wire colours and their actual function
- Terminal labels such as COM, NO, NC, +, - or LED
- Pin spacing and harness orientation
- Whether a connector is supplied with the replacement part
Never force a connector that nearly fits. A reversed or modified connection can short a circuit, disable several functions, or damage an input or output board.
Confirm system-level compatibility
The button must work with the existing fixture board and controller. This matters particularly for proprietary systems and replacement panels that communicate through dedicated board assemblies.
Where the fault involves more than one input or indicator, assess whether a [lift car button board](/products/elevator-car-button-board-lift-parts/) is the relevant component rather than ordering individual buttons. For systems using dedicated expansion hardware, a [Monarch-system button board expansion board](/products/button-board-expansion-board-monarch-system-elevator-parts-lift-accessories/) should be matched by its exact system and board identification, not appearance.
What affects replacement cost
The cost of elevator buttons replacement includes more than the unit price of the button. For maintenance contractors and sourcing teams, the full cost is the supplied part, verification work, labour, access, testing, return visits, and potential impact on lift availability.
The main cost factors are:
| Cost factor | Why it changes the cost |
|---|---|
| Part type | A standard mechanical button is generally simpler than an illuminated, vandal-resistant, capacitive, coded, or proprietary fixture |
| Quantity | Replacing a matched group can reduce repeated labour, but only where the panel and budget justify it |
| Manufacturer-specific design | Older, discontinued or proprietary items may need closer identification or a compatible retrofit approach |
| Panel modification | Enlarging cut-outs, changing faceplates or modifying harnesses adds labour and can affect finish quality |
| Electrical fault finding | Diagnosis takes longer when the button is not the confirmed cause |
| Site access | Work in occupied buildings, restricted areas or during scheduled maintenance windows can add planning requirements |
| Testing and commissioning | Functional checks, indication checks and documentation are necessary before releasing the lift |
| Associated parts | Connectors, harnesses, lamps, boards, labels, faceplates and fixings may also need replacement |
Avoid choosing on unit cost alone. A cheaper button with an uncertain pinout or poor panel fit can create more cost through rework, repeat call-outs, and replacement of damaged related components.
For tendering or procurement, request quotations against a defined part record: photos, dimensions, voltage, connector details, quantity, system details, and whether the price covers a button only or a complete assembly.
Replace individual buttons or the panel?
Replace an individual button when the panel is in sound condition, the fault is isolated, and an exact or verified compatible part is available. This is usually appropriate for a single failed floor button, door-control button, or indicator with matching appearance and function.
Consider replacing the complete panel or a larger fixture set when:
- Multiple buttons have failed or show similar age-related wear.
- The panel face is damaged, corroded, difficult to clean, or no longer readable.
- Original button types are obsolete and cannot be matched safely.
- Different replacement buttons would create inconsistent legends, lighting or accessibility cues.
- The wiring, connectors, or button board require broader correction.
- A car modernisation already includes controller, interior or fixture upgrades.
- Repeated individual repairs are causing recurring labour and downtime.
A panel replacement needs more planning than a single-button repair. Confirm cut-out positions, harness lengths, cable routes, board mounting, emergency functions, alarm or intercom equipment, fire-service controls where fitted, and floor designation programming.
There is also a middle option: retain the panel face but replace the buttons, labels, wiring tails, or input board as a coordinated refurbishment. This can preserve the car interior finish while improving serviceability. The practical choice depends on the condition of the whole assembly, availability of matching parts, and expected remaining service life.
Functional and accessibility testing
A replacement is not complete when the button fits and lights. Test the panel after reassembly under normal operating conditions and record the result according to the maintenance process used for the site.
Minimum functional checks
Test the replaced position and related functions for:
- Smooth press and release without sticking or excessive force
- Correct floor or function identification
- Correct call registration
- Correct button illumination or acknowledgement
- Correct signal clearing after the requested action is completed
- No effect on nearby buttons or unrelated controls
- Secure faceplate, button retention and connector seating
- Correct operation of door open, door close, alarm, intercom, and other functions where work affected them
- No controller faults, nuisance calls, or intermittent behaviour during repeated operation
For hall buttons, confirm the call is registered and cleared correctly when the lift responds. For car buttons, confirm the selected floor, direction logic where relevant, and cancellation behaviour match the existing system design.
Check accessibility details
When replacing passenger-facing fixtures, preserve or improve usability. Confirm that:
- Raised characters, Braille, symbols or floor legends are present where required by the panel design and project requirements.
- The replacement legend corresponds to the actual floor designation.
- Light indication is visible under normal car lighting.
- Colour choices do not make the active state unclear.
- Button spacing and surrounding faceplate condition still allow clear selection.
- Door-control symbols remain easy to distinguish.
Accessibility and building requirements can vary by project, building type, authority approval and modernisation scope. For a full panel upgrade, verify the applicable project specifications and local requirements before finalising the fixture layout rather than assuming an existing panel is compliant.
Common ordering mistakes
Most ordering errors come from incomplete identification. Prevent delays by avoiding these common mistakes.
Ordering from a front photo only
A front photo rarely shows depth, body shape, mounting tabs, terminal labels or connector orientation. Include rear and side photos, measurements, and a picture of the harness connector.
Matching only by diameter
A 27 mm face does not guarantee a 27 mm panel opening, matching depth, compatible retention nut, or suitable wiring clearance. Measure the cut-out and the complete button body.
Assuming the lift brand identifies the part
A lift may have been modernised, repaired with mixed components, or fitted with third-party fixtures. Identify the actual button, panel and board rather than relying only on the lift brand shown in the car.
Ignoring pin functions
The same number of pins does not mean the same electrical arrangement. Request or verify a pinout, terminal labels, and voltage requirements before installation.
Replacing a button when the board is faulty
When multiple positions fail, indicators behave abnormally, or a replacement does not restore function, test the board, harness and controller input before ordering more buttons.
Mixing illumination colours or legends
An unmatched replacement can make a panel look poorly maintained and may confuse users. Check illumination state, colour, icon style, number font, Braille arrangement and finish when visible consistency matters.
Forgetting installation accessories
Confirm whether the order includes a retaining nut, gasket, lamp module, connector, terminals, mounting clip or cable tail. Missing small parts can stop an otherwise correct repair.
Not keeping an identification record
After replacement, update the maintenance record with the part number, supplier reference, photos, fitted location, wiring notes and test result. This makes later repairs quicker, especially for sites with several similar lifts.
For a practical order request, provide the old part number where available, complete photos, measurements, connector and pin details, voltage, illumination behaviour, quantity, and the lift or controller information. Kelevator supplies multi-brand elevator spare parts for B2B buyers, and a complete technical record helps determine whether a button, board, or related fixture is the appropriate replacement.